Configure Appointment Scheduling
Learn how to set up Appointment Scheduling in SME Bot to streamline bookings. Perfect for managing appointments efficiently. It can be scheduled for Phone Call, In-Person Meeting or Online Meeting.
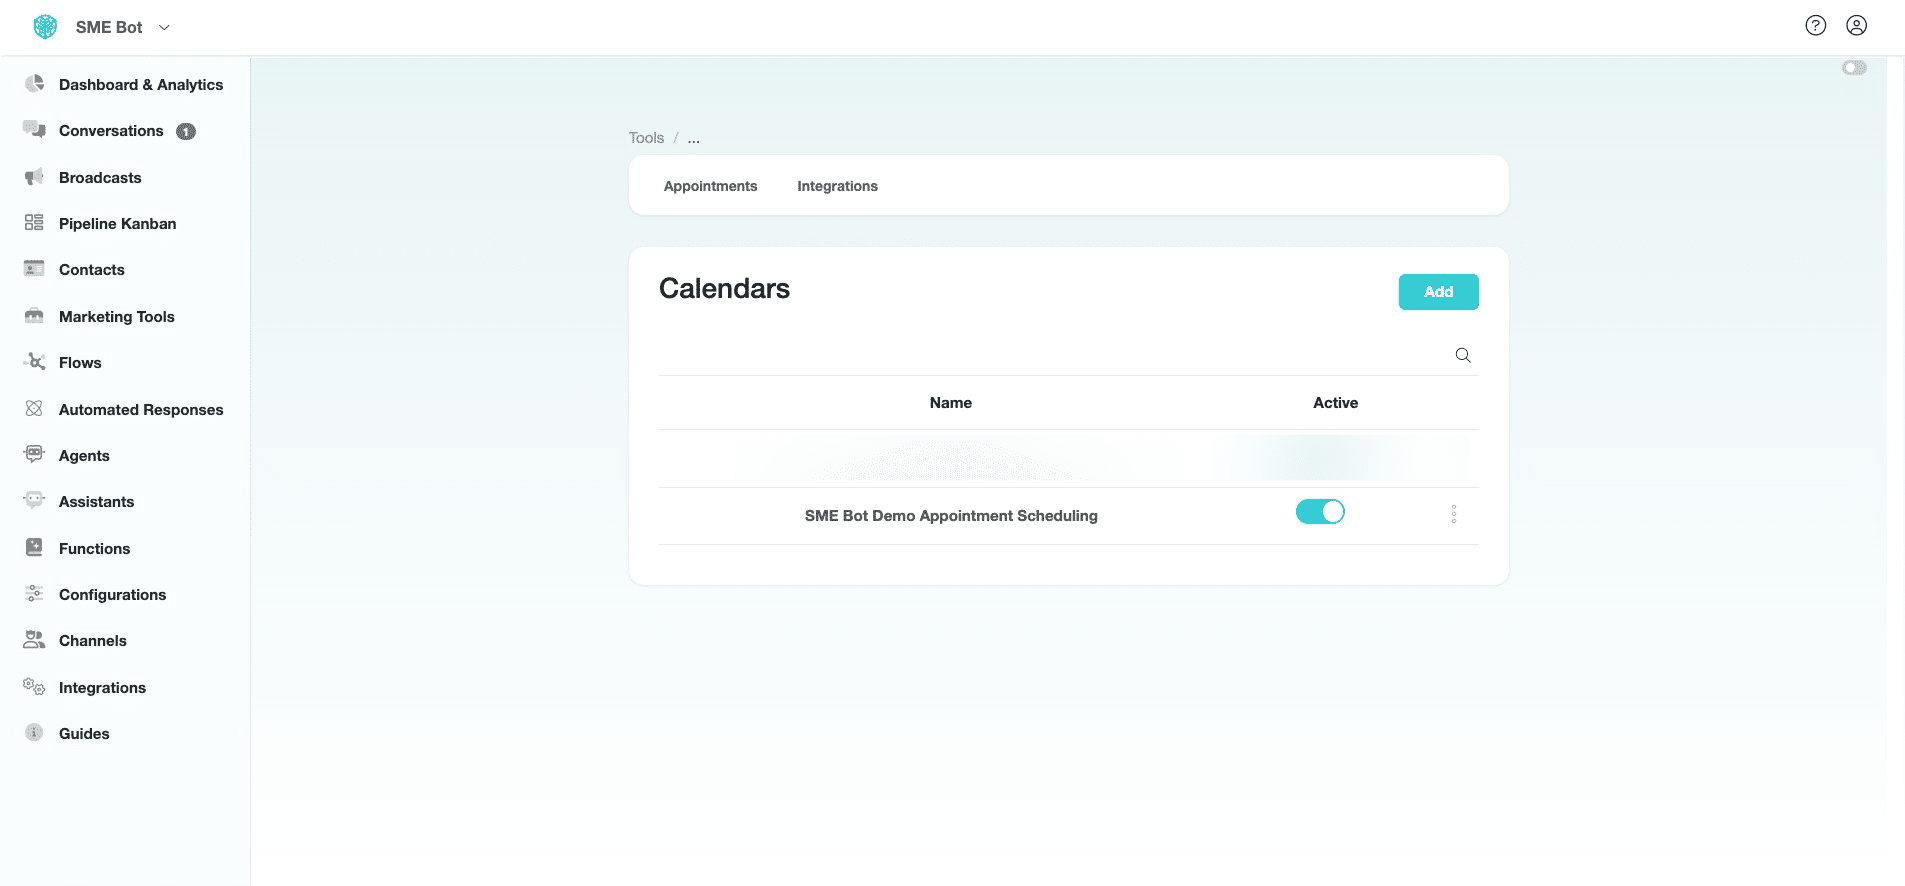
Navigate to https://app.smebot.ai/en/calendars
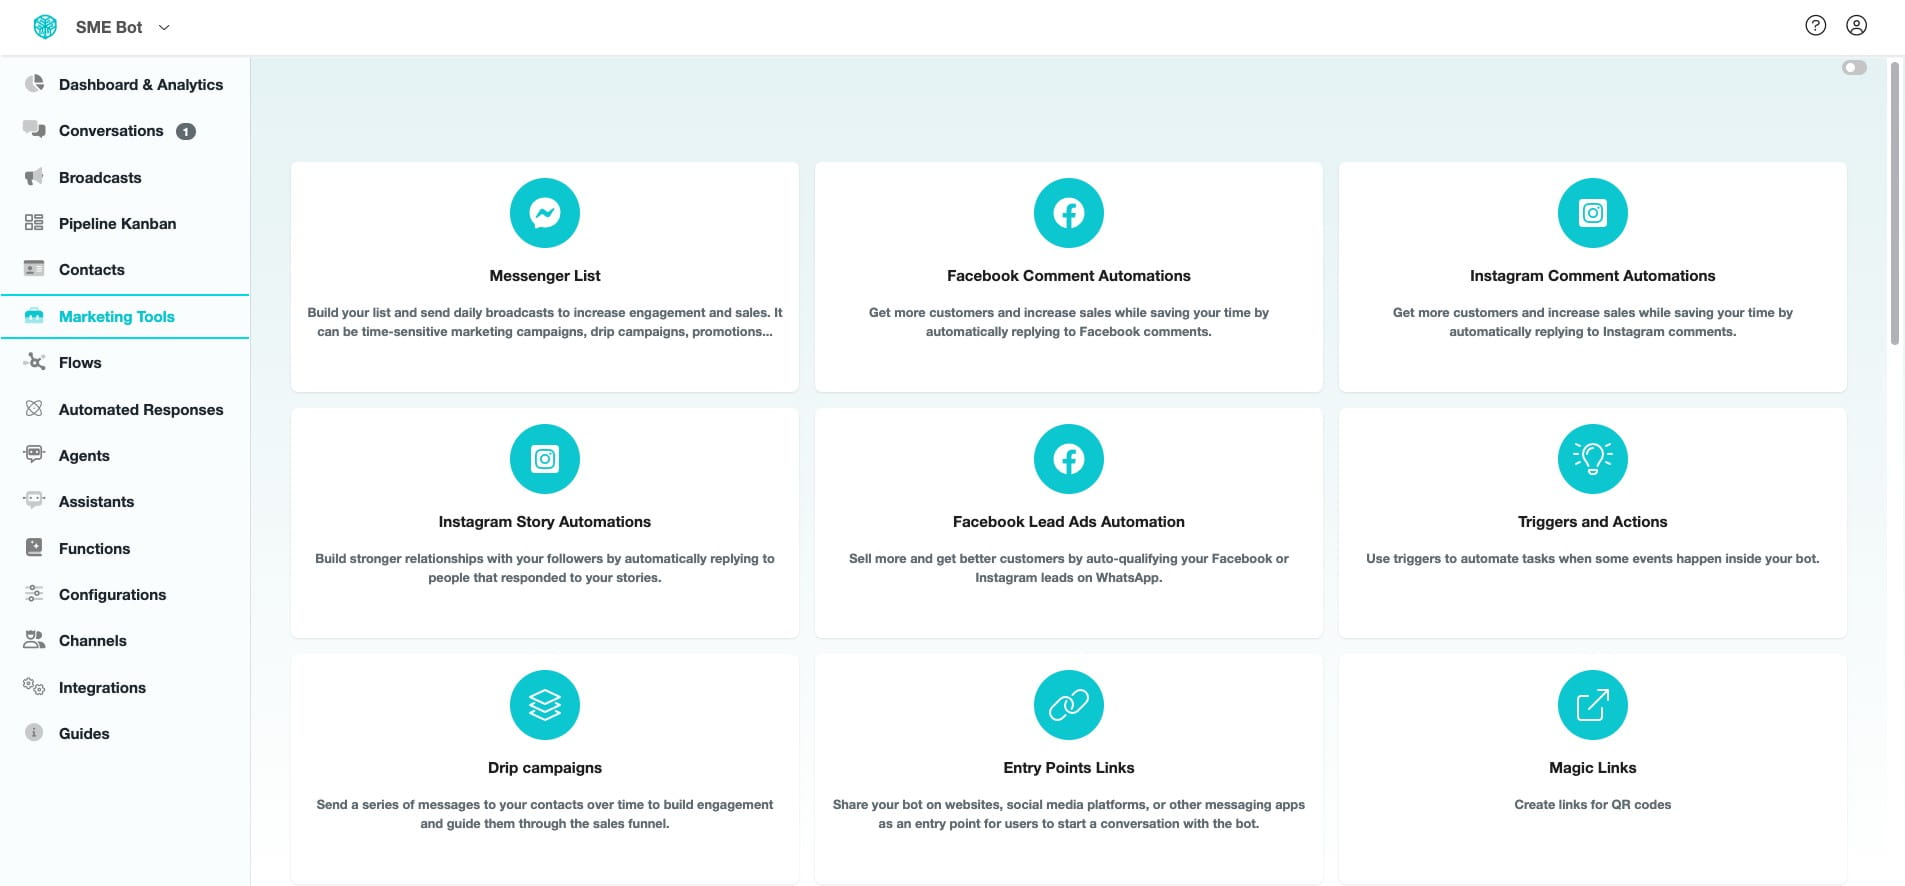
Click "Marketing Tools"
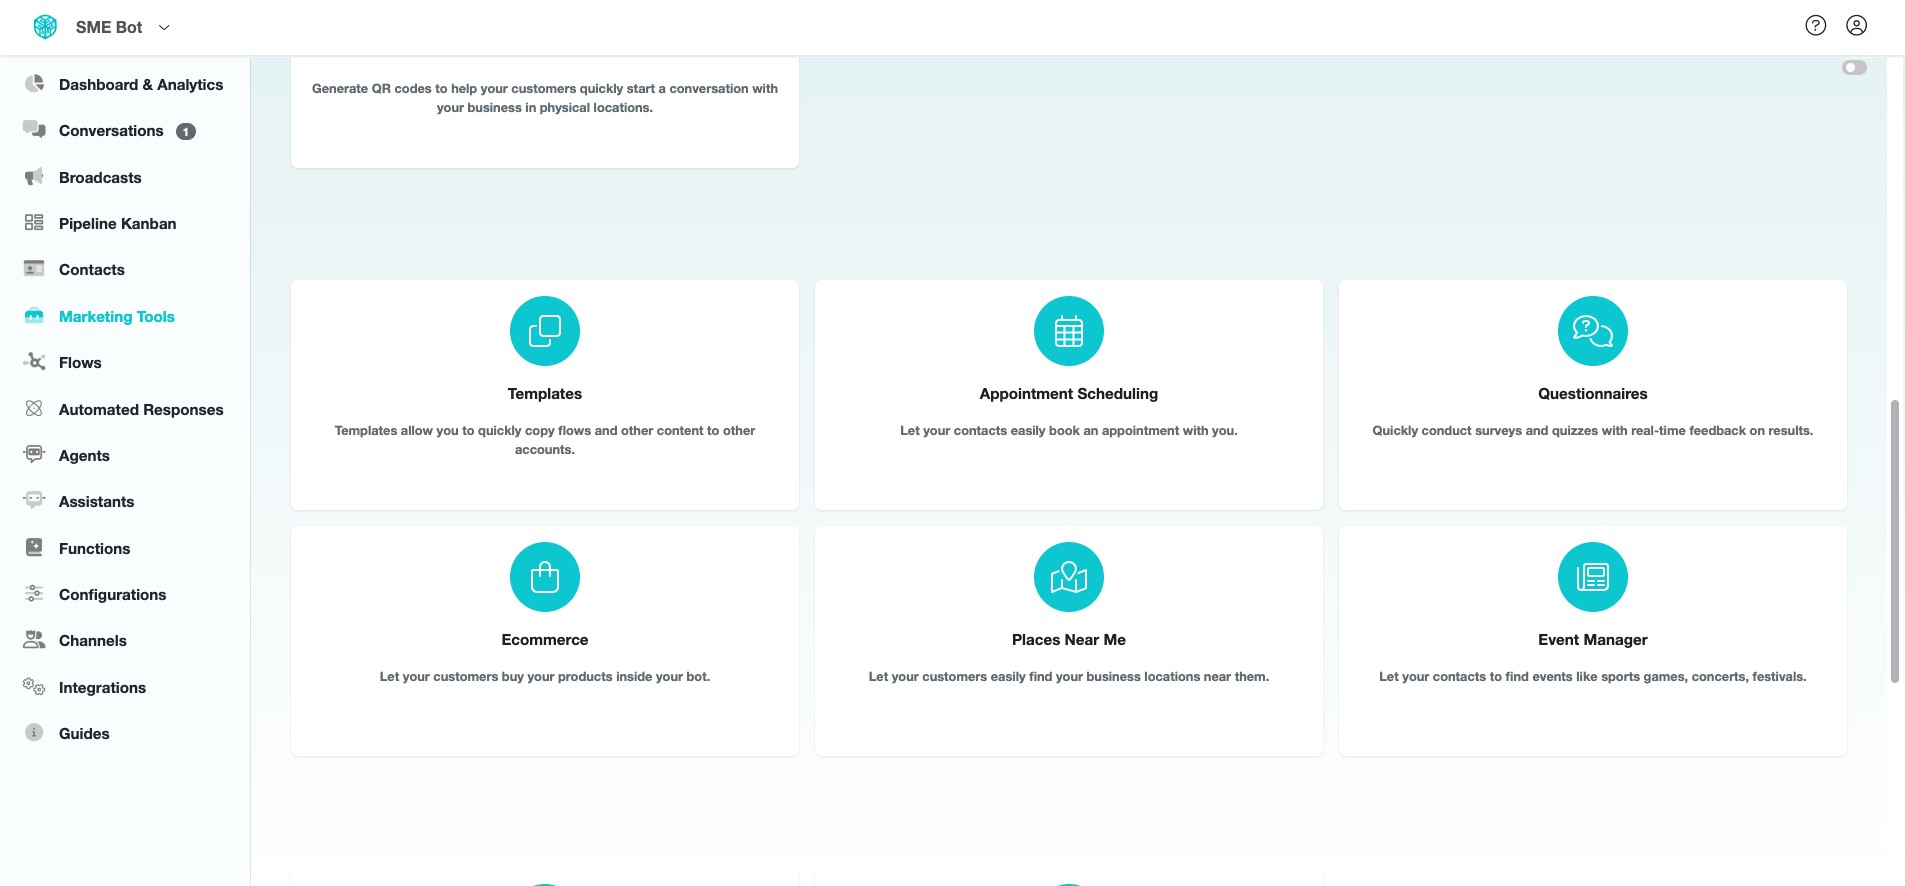
Scroll down and click "Appointment Scheduling"
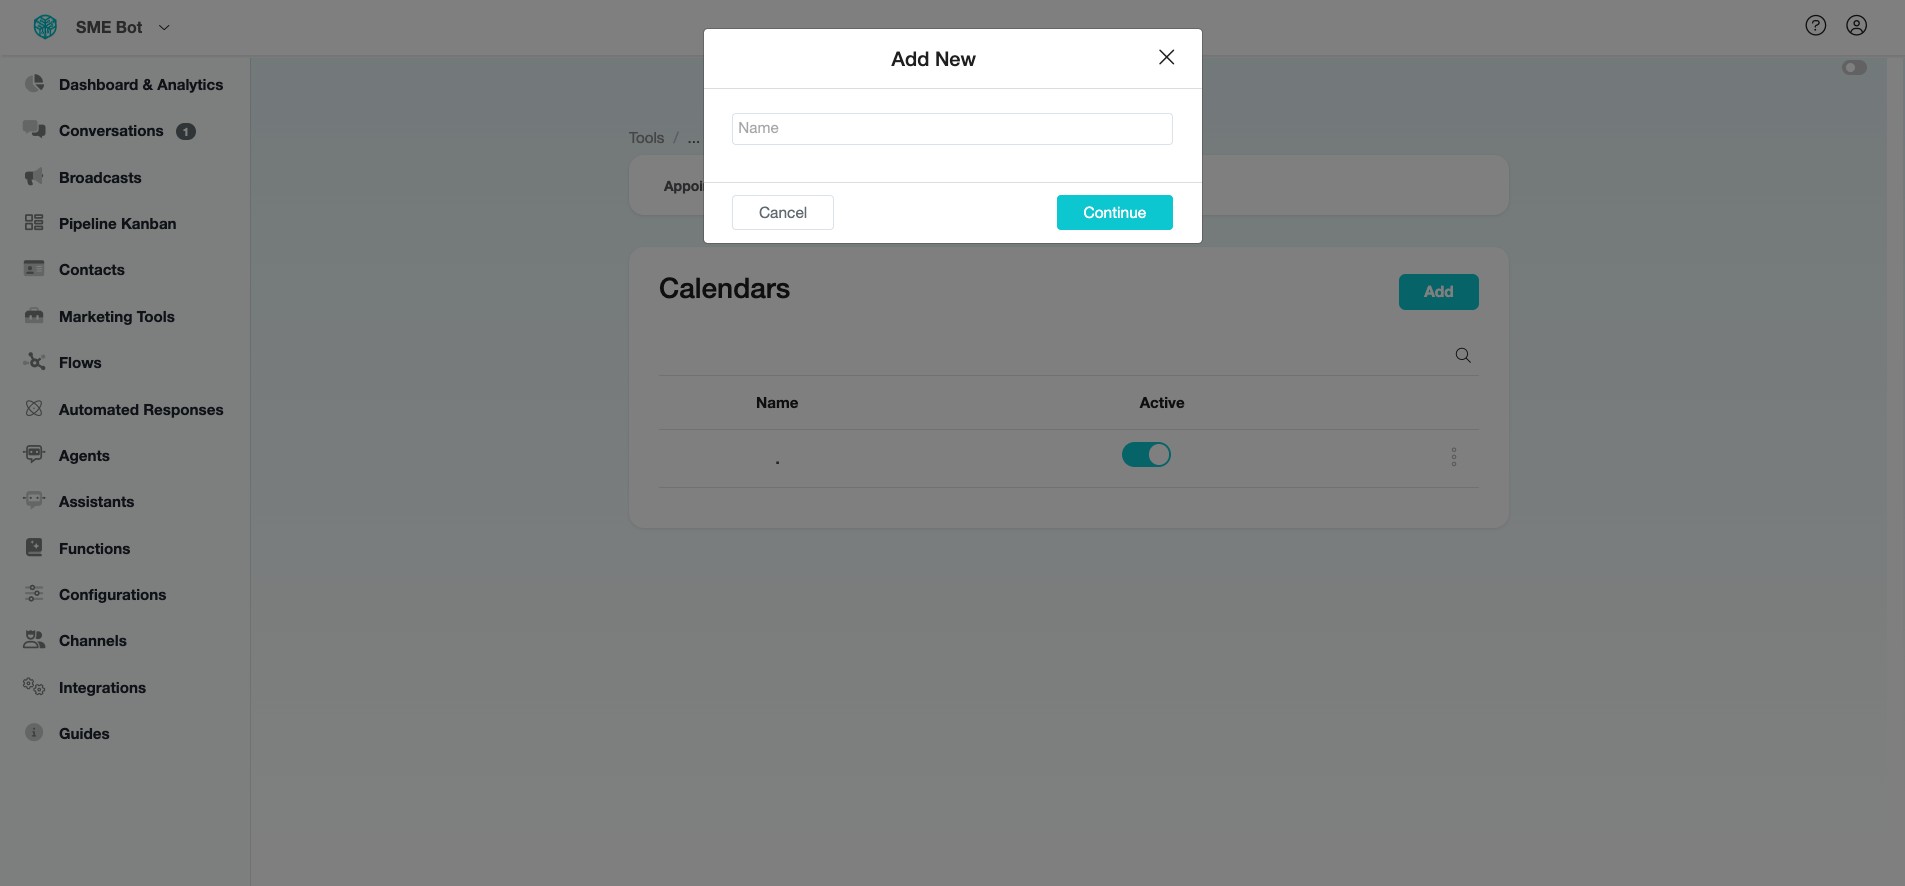
Click "Add"
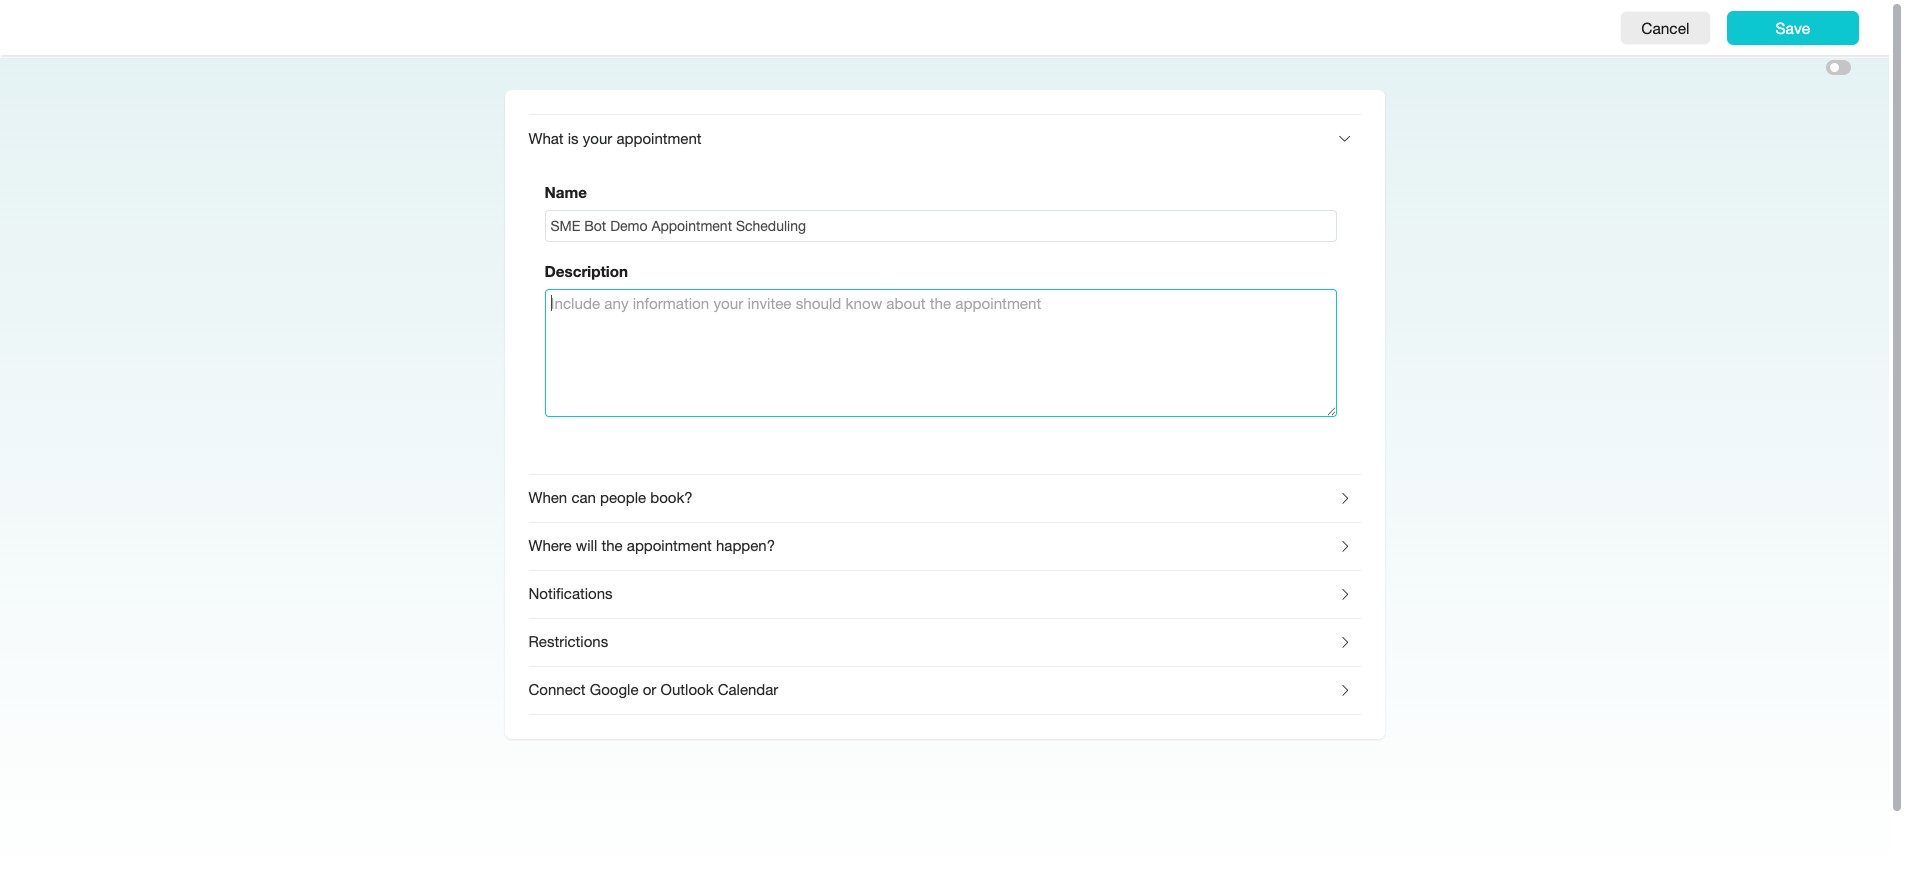
Provide a suitable "Name" for your Appointment Scheduling and click "Continue".
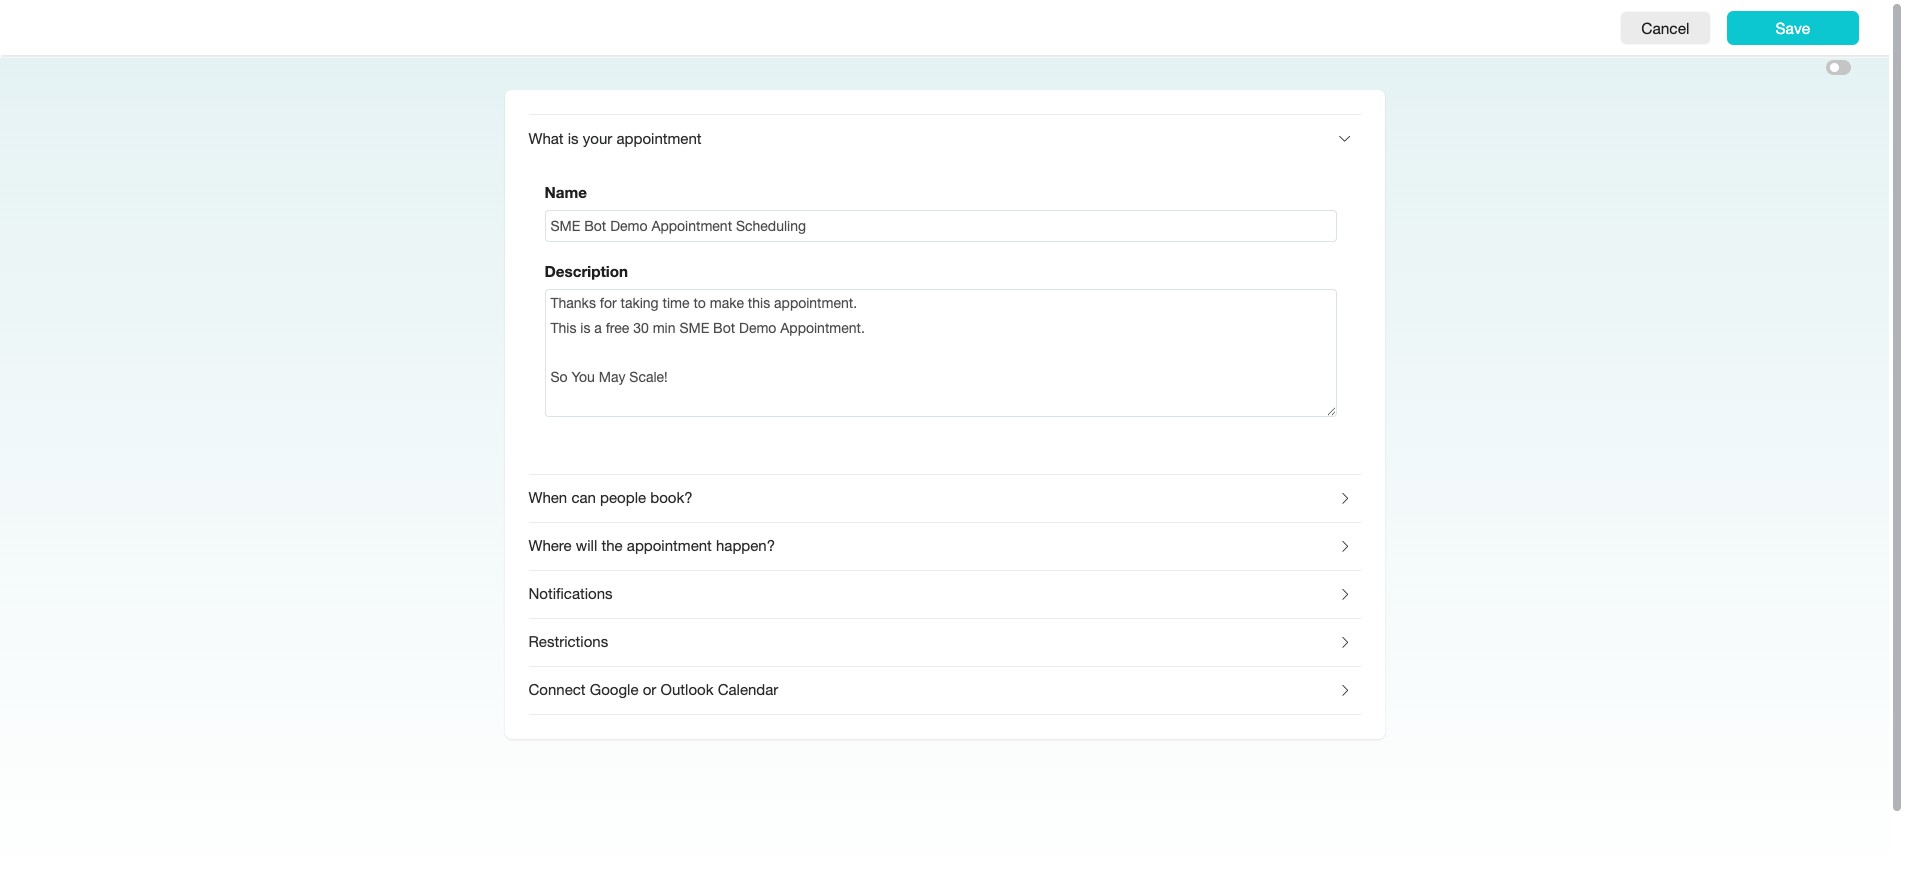
Provide a "Description" with the details you'd like to share with your invitee about the appointment, such as purpose, duration, and any preparation required.
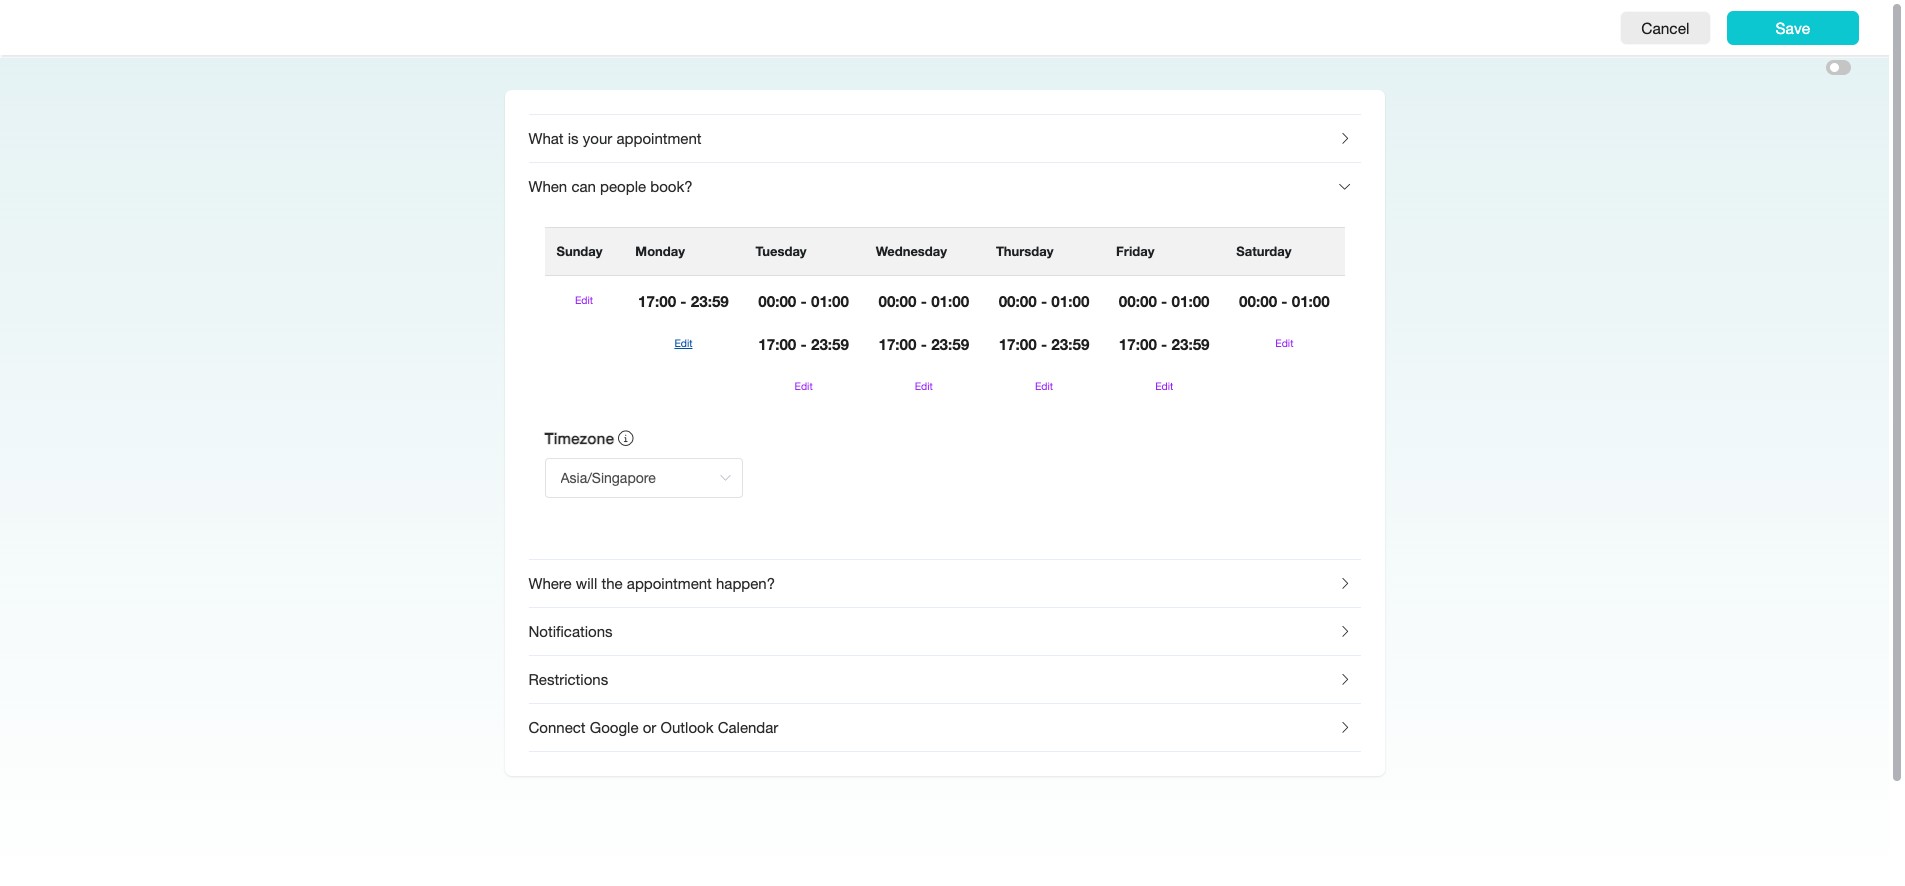
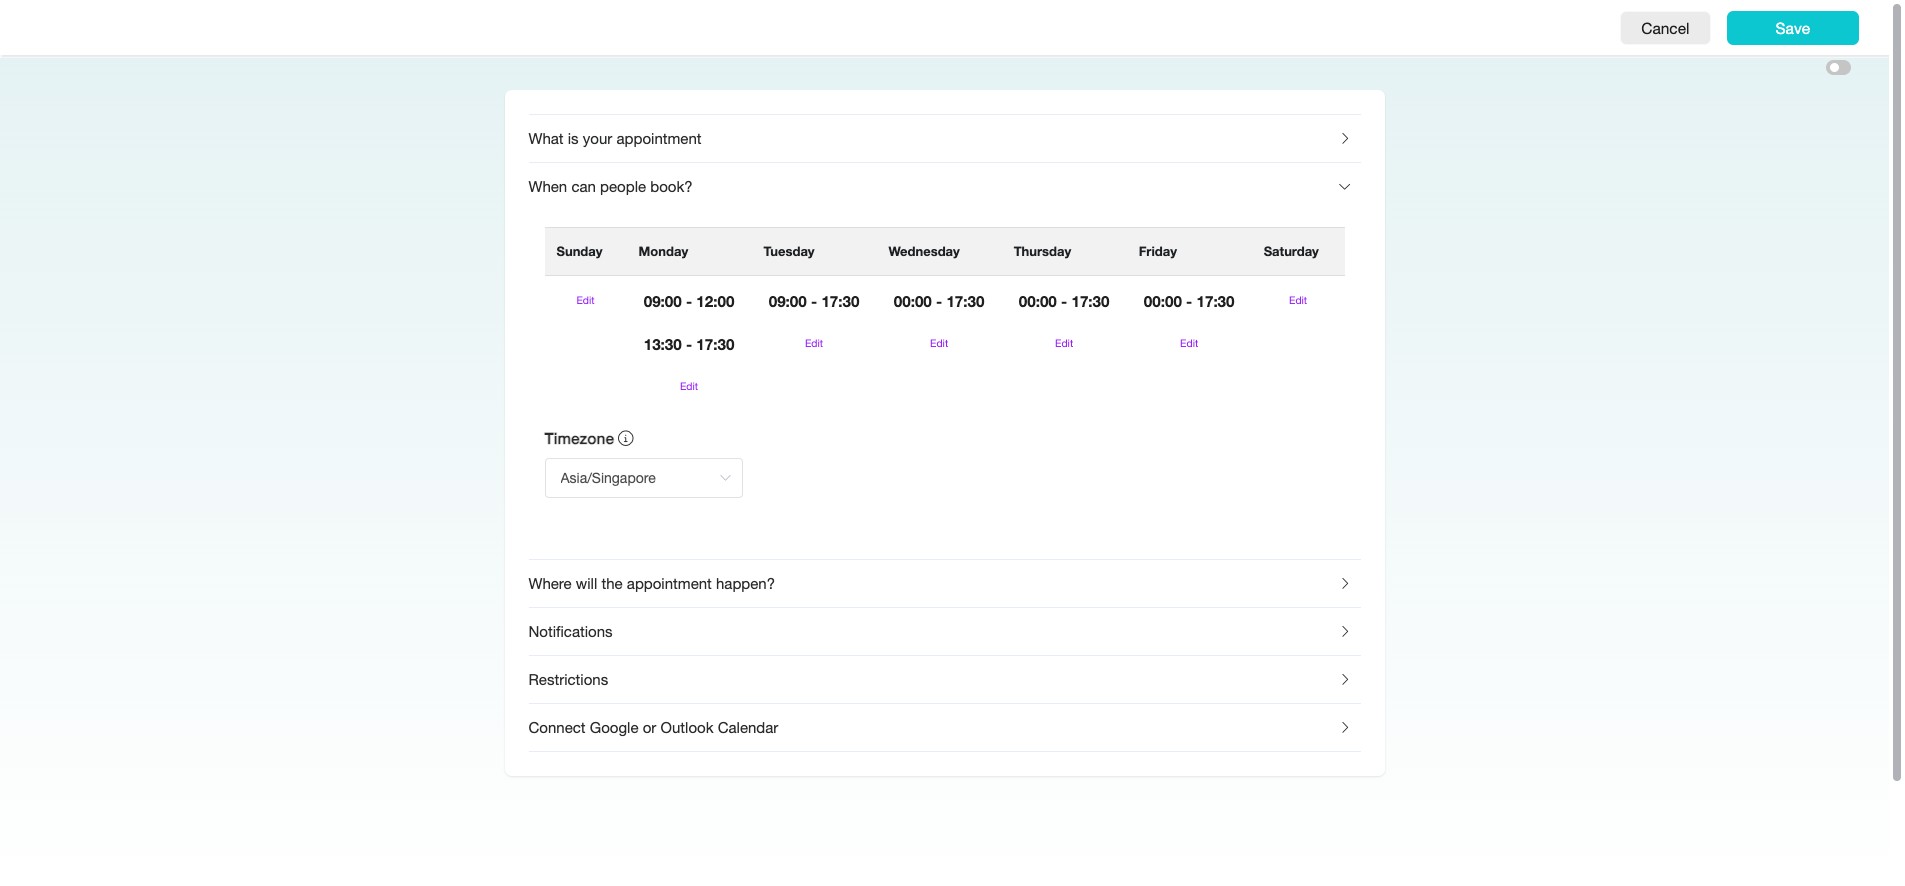
Click the arrow icon on the right to configure the "When can people book?" settings for your appointment scheduling.
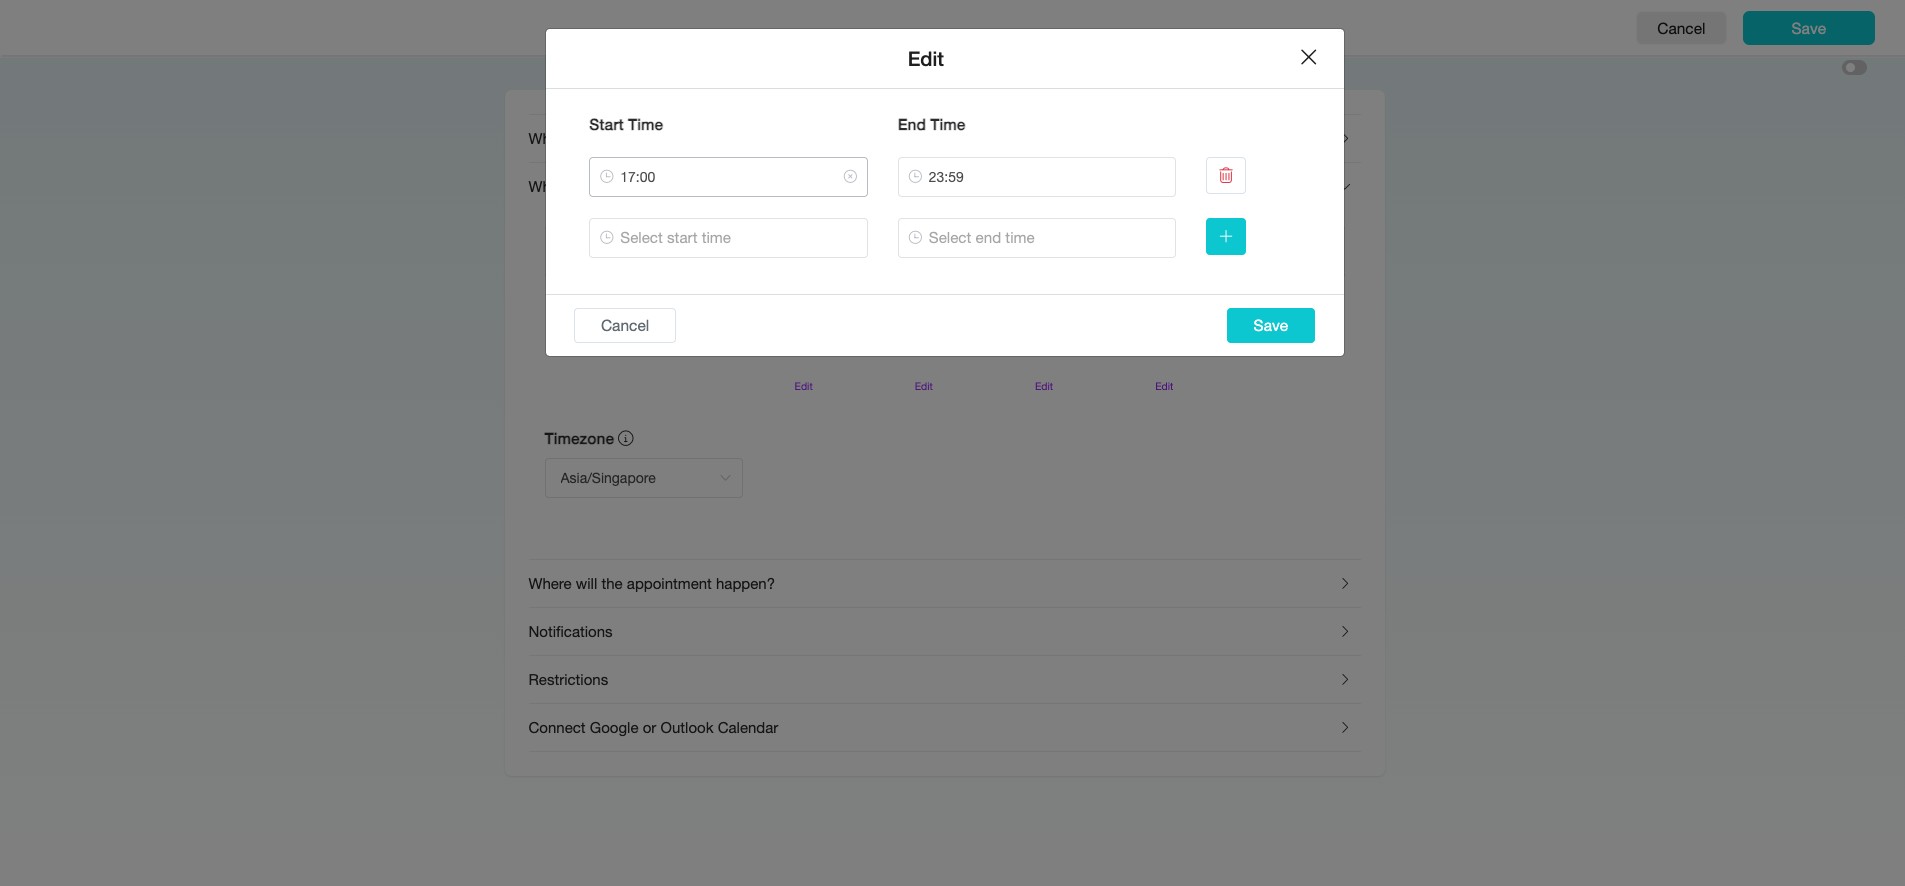
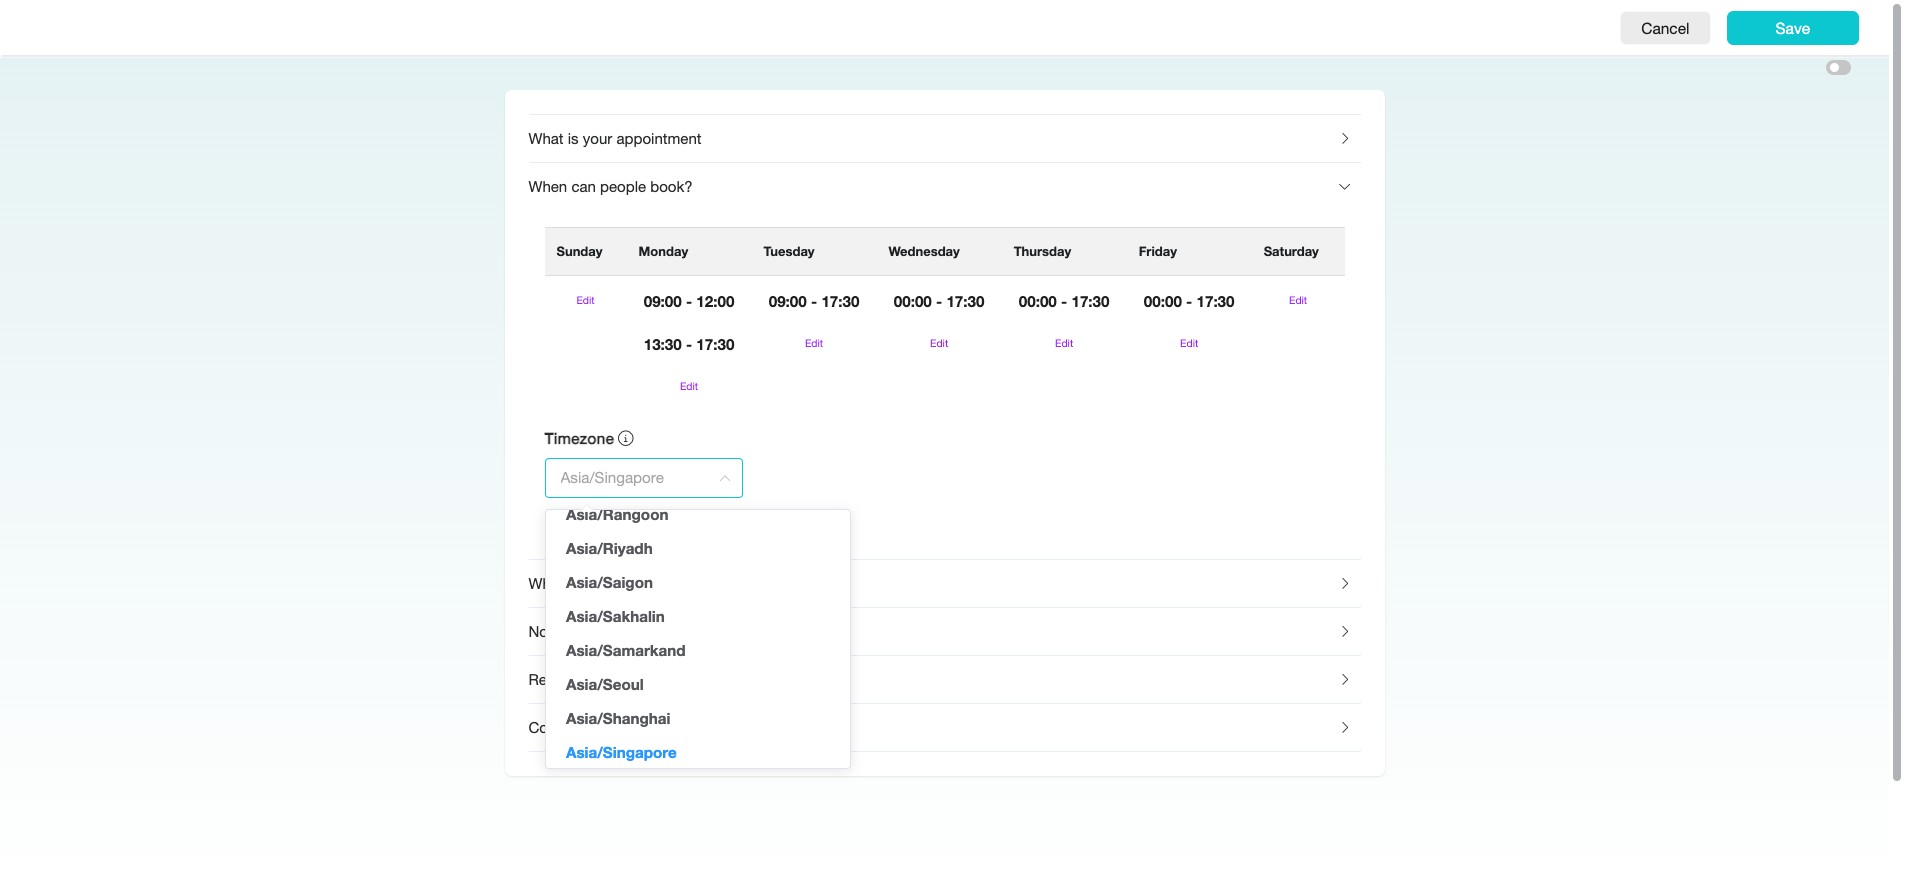
This is where you can configure the available days and time slots for booking. Click "Edit" and set the available time period for booking appointments.
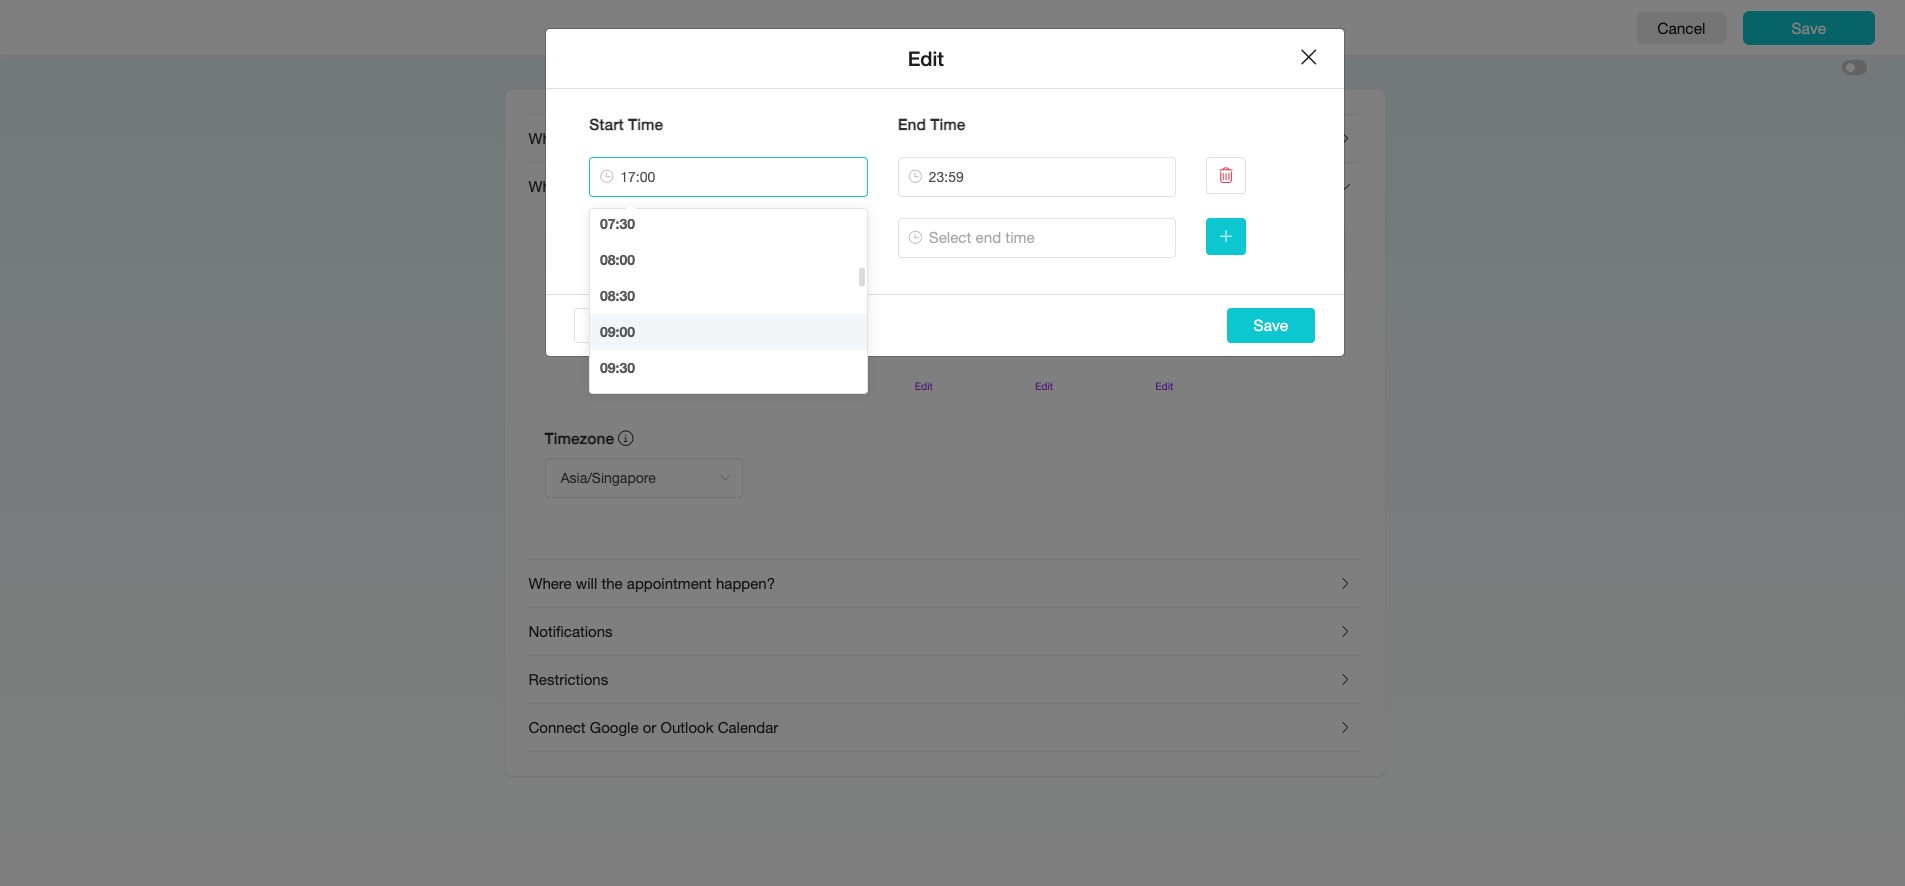
Set "Start Time"
Click "09:00"
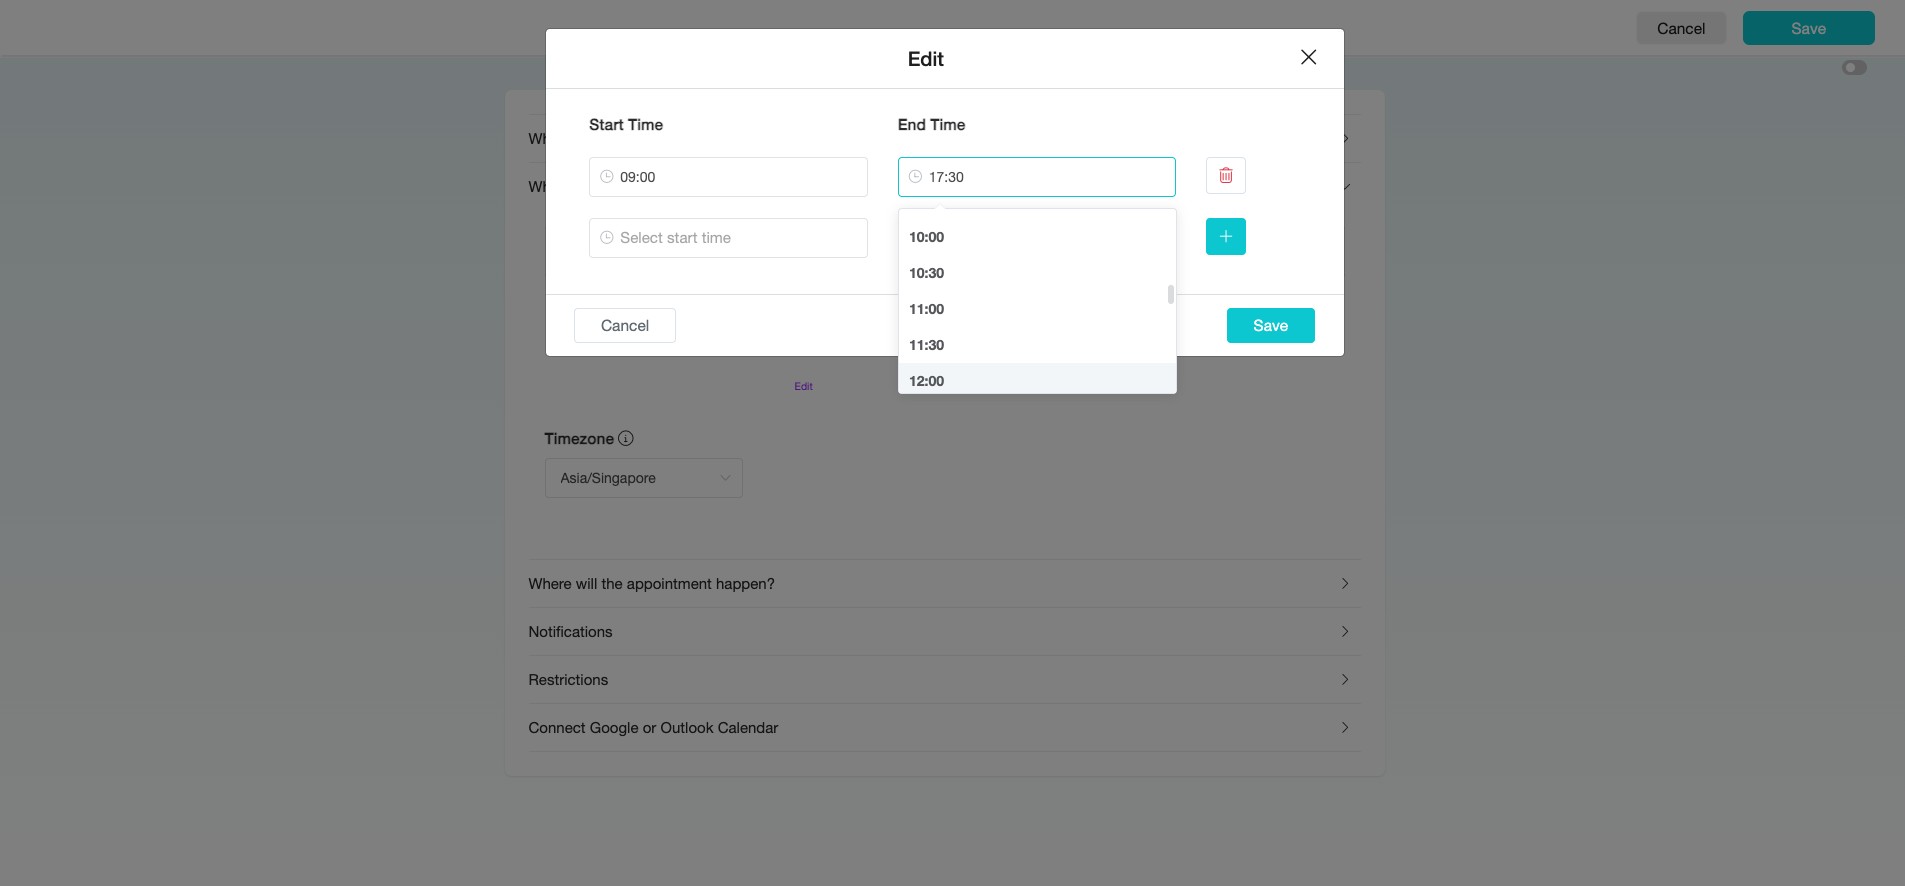
For this example, we will cater to lunch time, so the end time marks the end of the availale timeslot for the morning session. We set the "End Time" to "12:00".
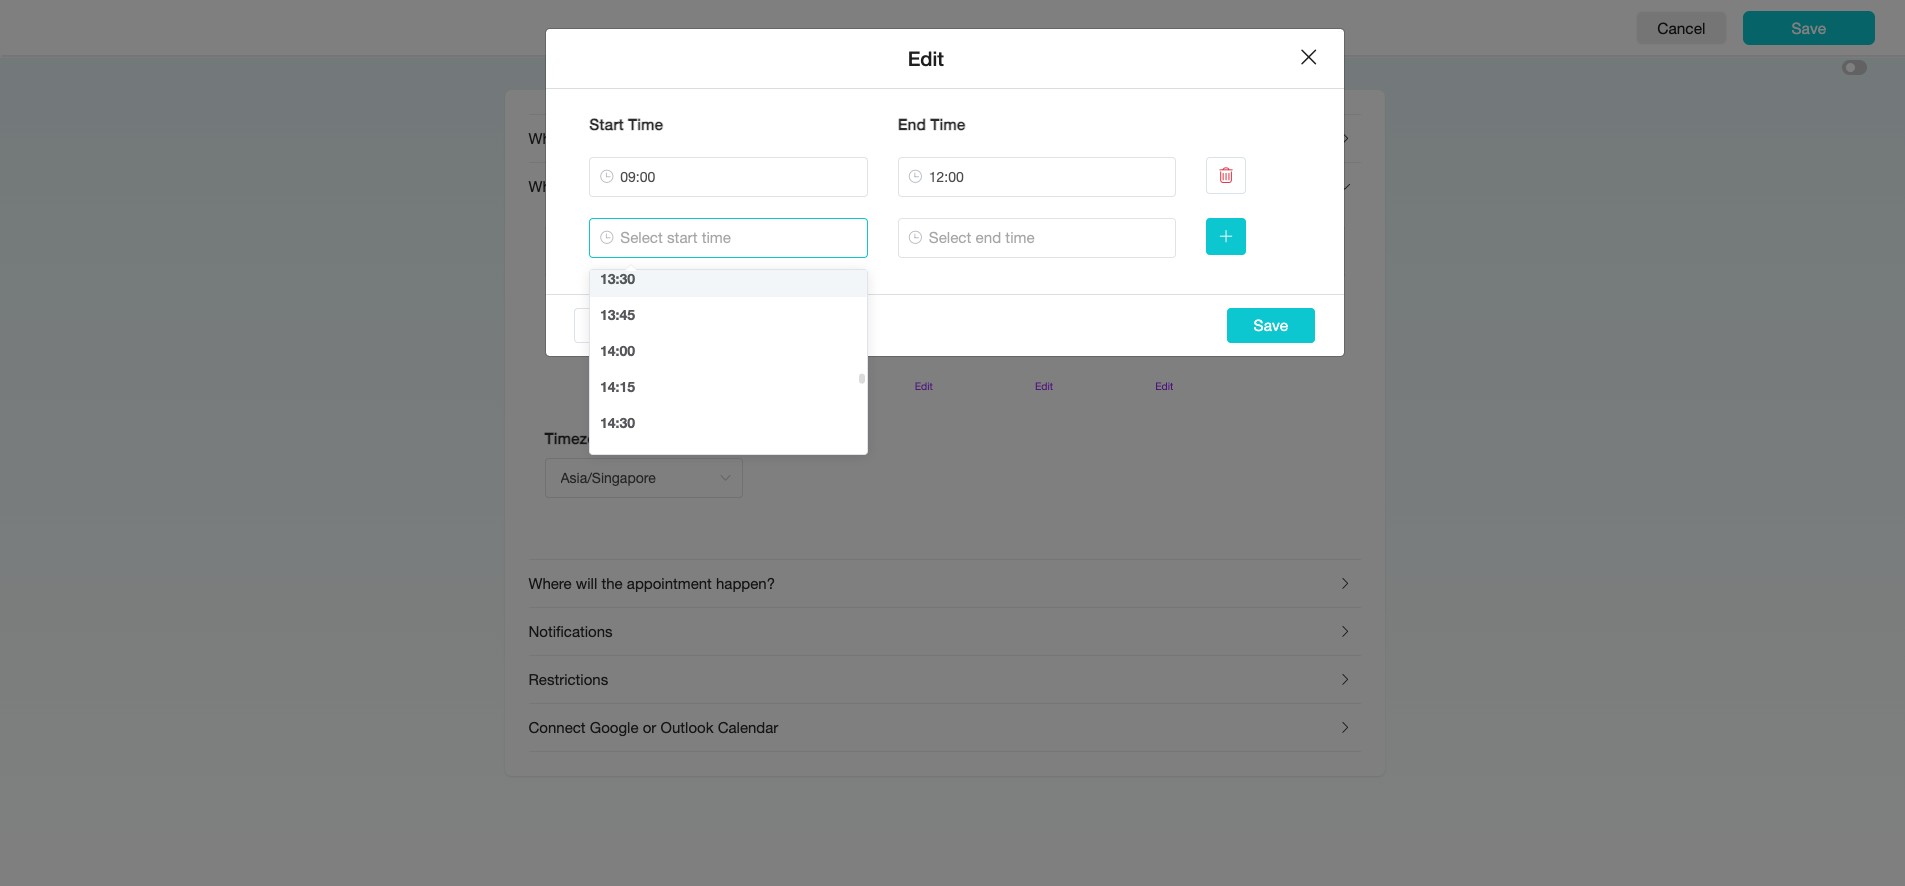
Therefore, our next "Start Time" is set to "13:30", as we have blocked out "12:00" to "13:30" for lunch.
Set the "End Time" for the day to "17:30". This will ensure that the booking period ends at the close of your working day.
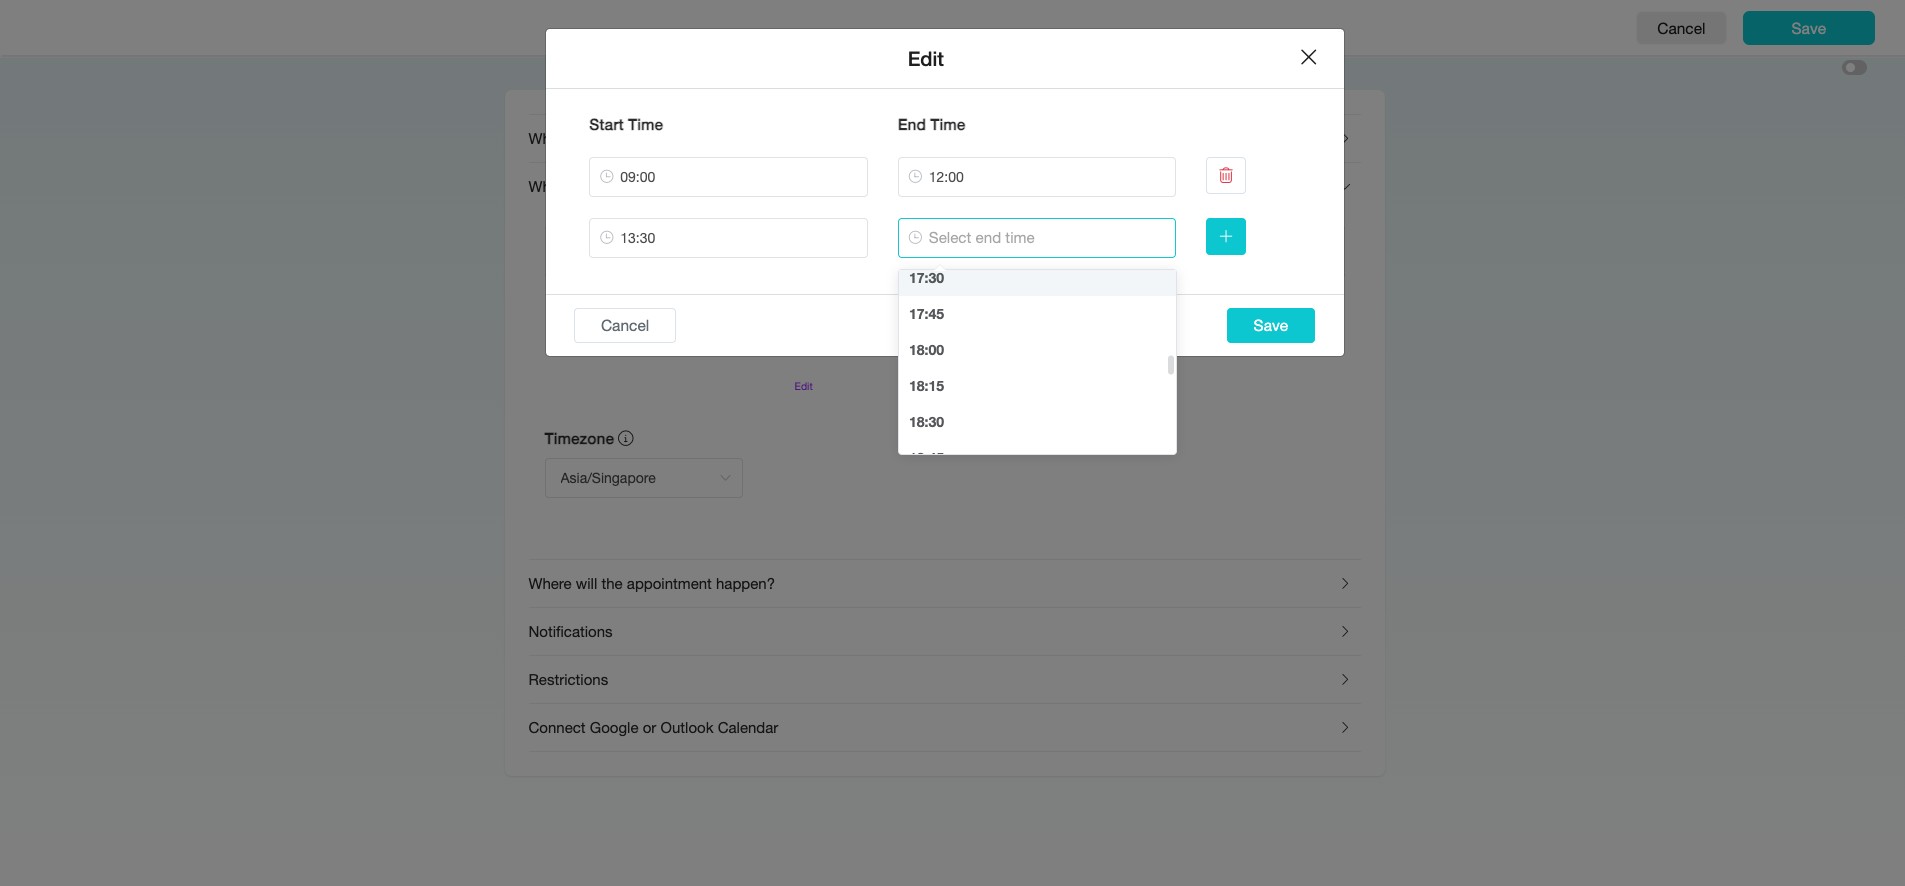
Click the "+" icon to add more time periods for booking. This allows you to configure additional available time slots if needed.
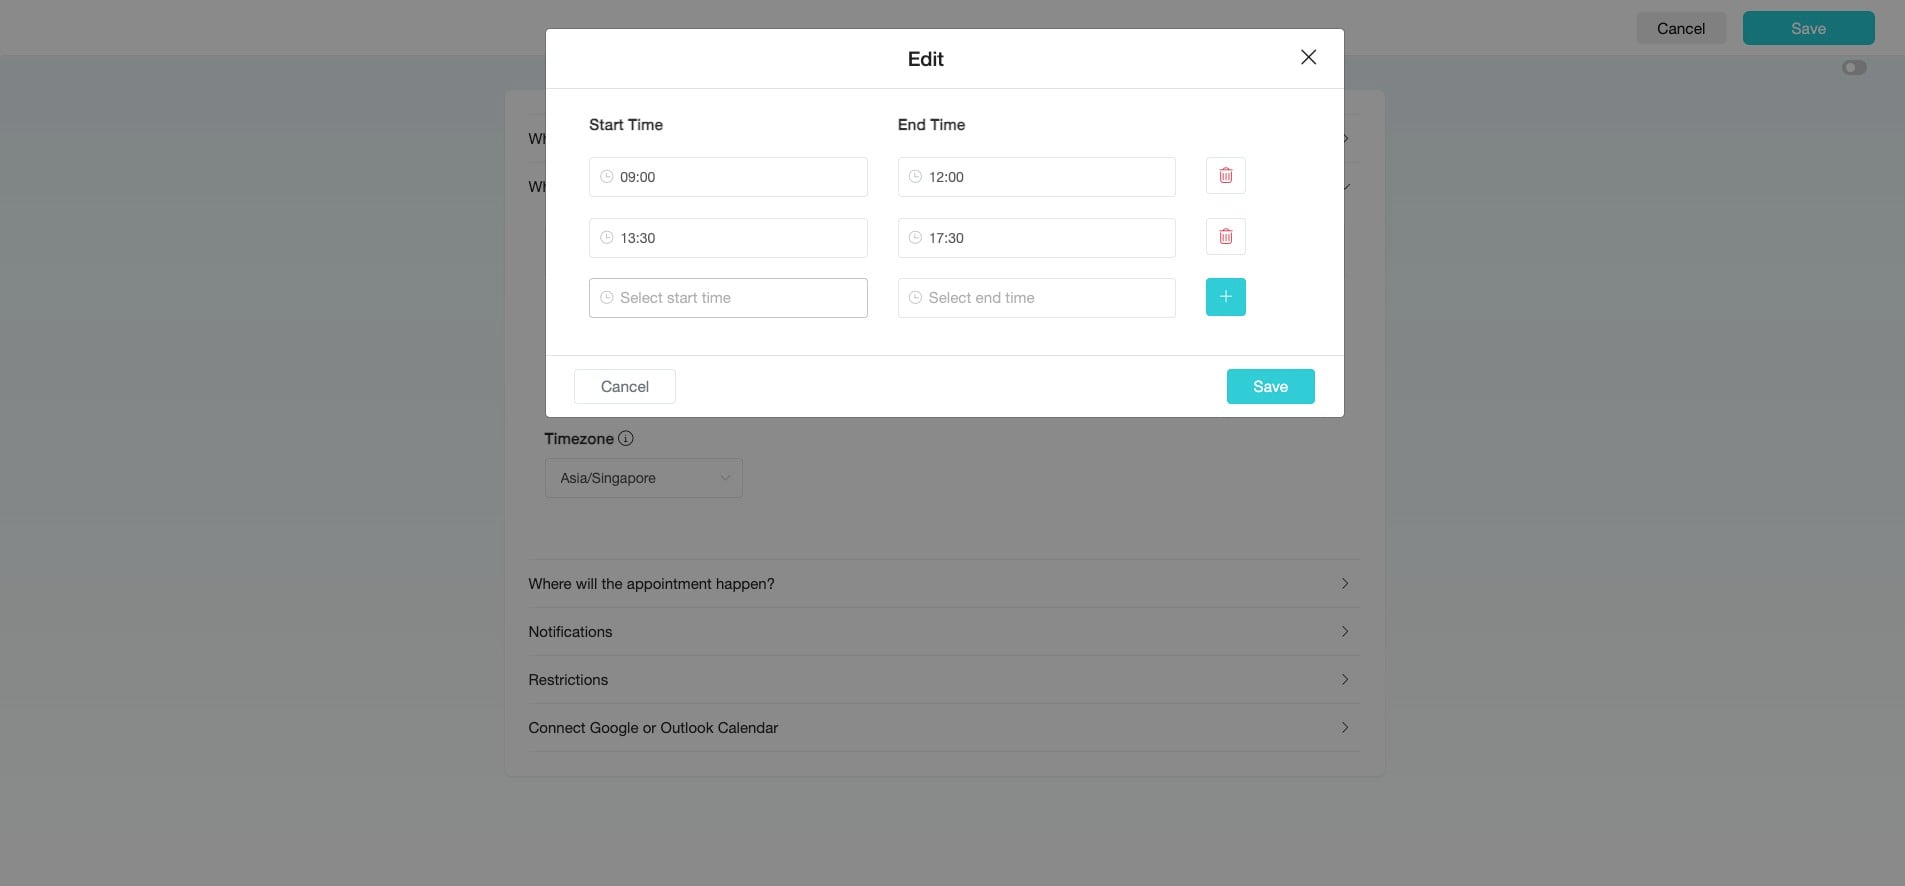
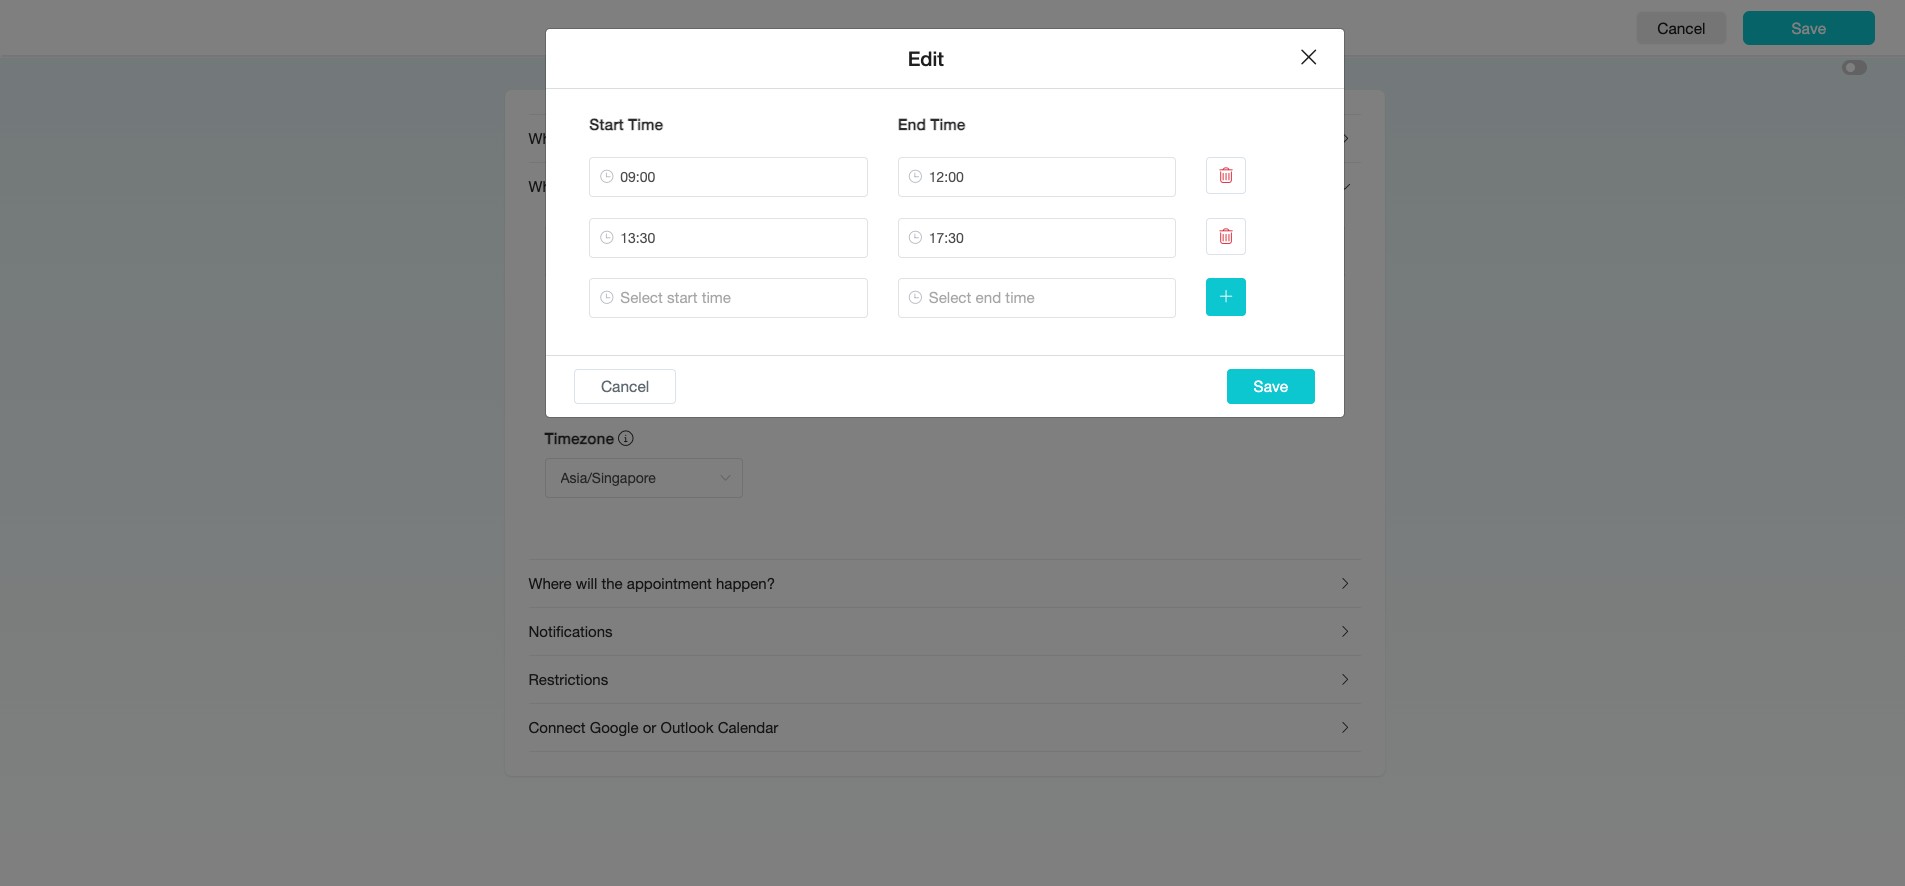
Click "Save" to save your configuration, then continue setting available days and time slots for the rest of the week under "When can people book?".
Set the "Timezone" to specify the timezone for the calendar you are creating. This will ensure that your availability is displayed correctly to users based on their own timezone.
Click the arrow icon on the right to configure "Where will the appointment happen?"
For "In-Person Meeting," provide a Meeting Address.
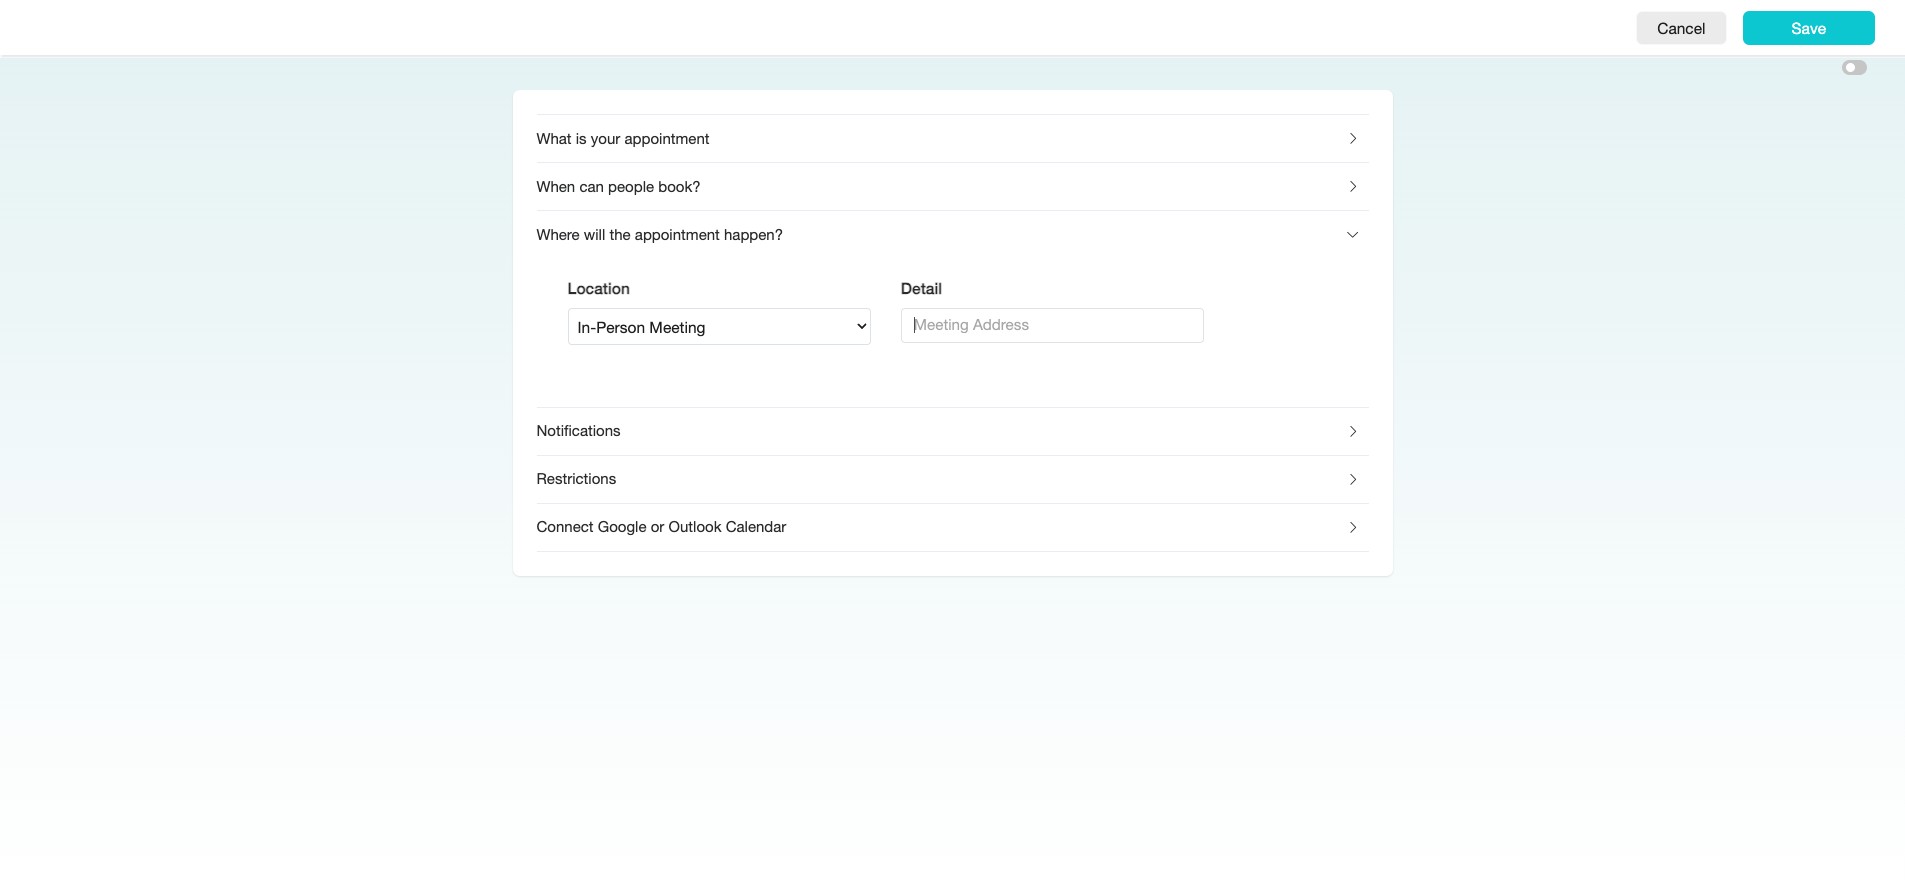
For "Online Meeting," provide a Meeting Link.

Click "Phone Call"

Click the arrow icon on the right to configure the "Notifications" for the appointment.
Provide a "Message on the confirmation page" — this is the message your invitee will see after booking the appointment.
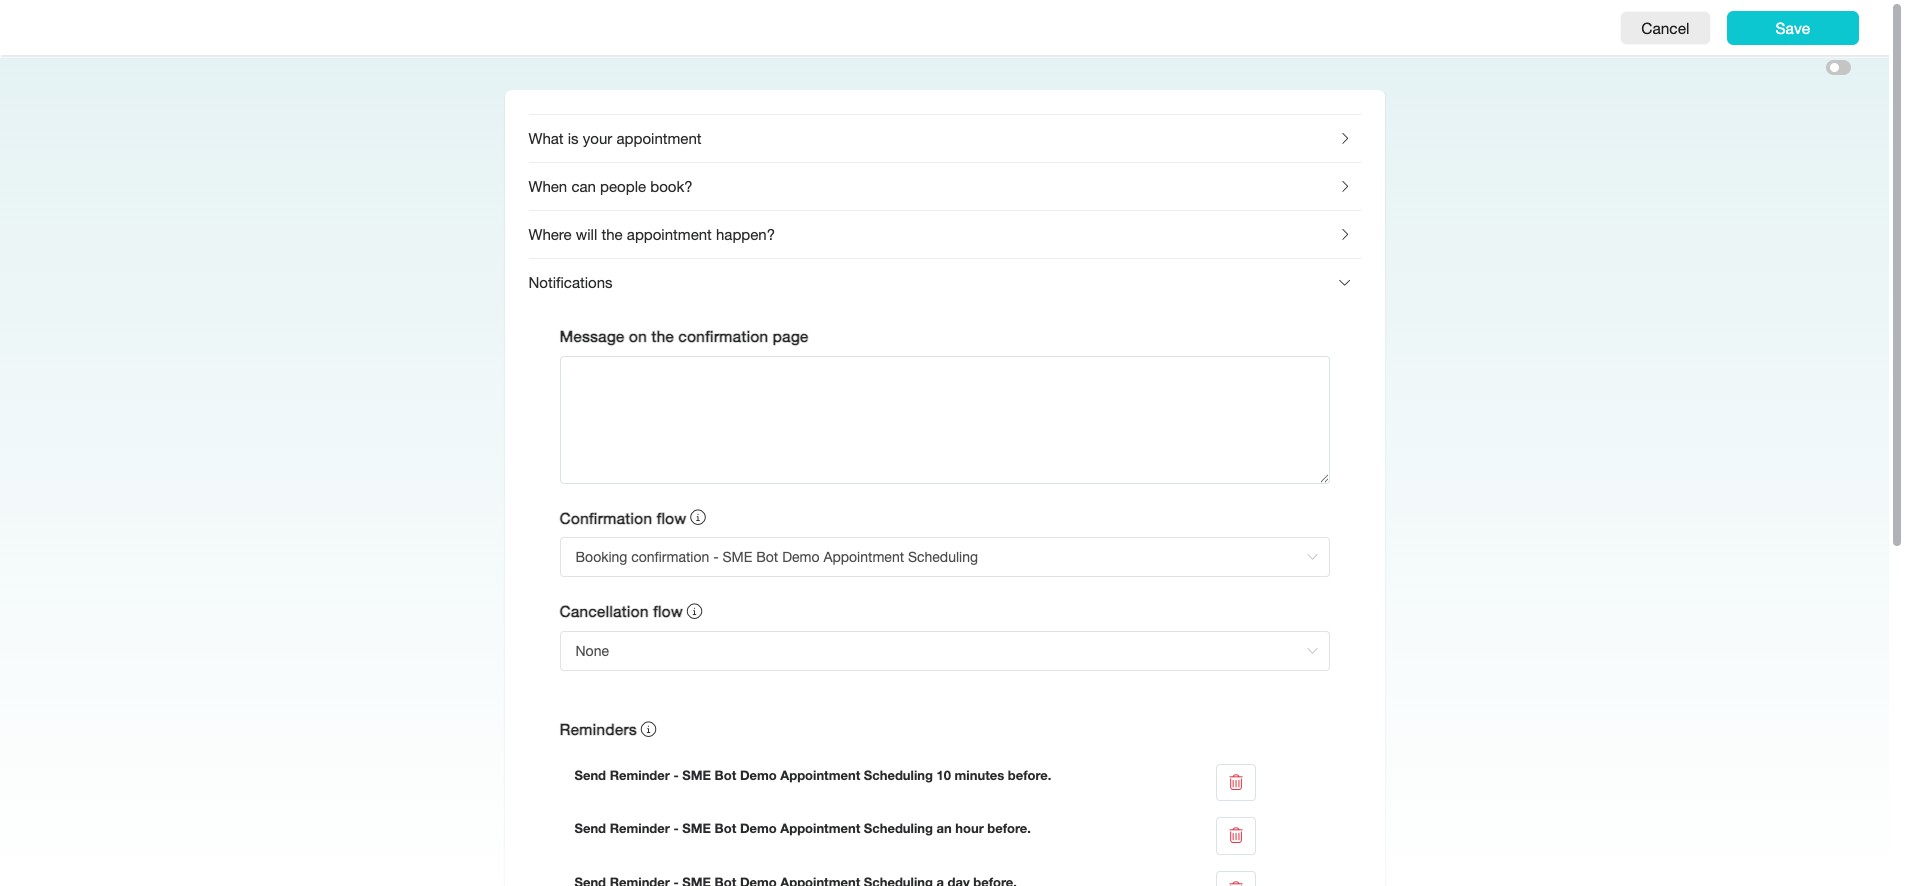
For "Confirmation Flow", do not edit this step. It’s auto-generated with the Appointment Calendar and will be sent when a user books an appointment.

You can create a "Cancellation Flow" and select it here. This flow will be triggered when a user cancels an appointment—use it to re-engage and encourage them to rebook.
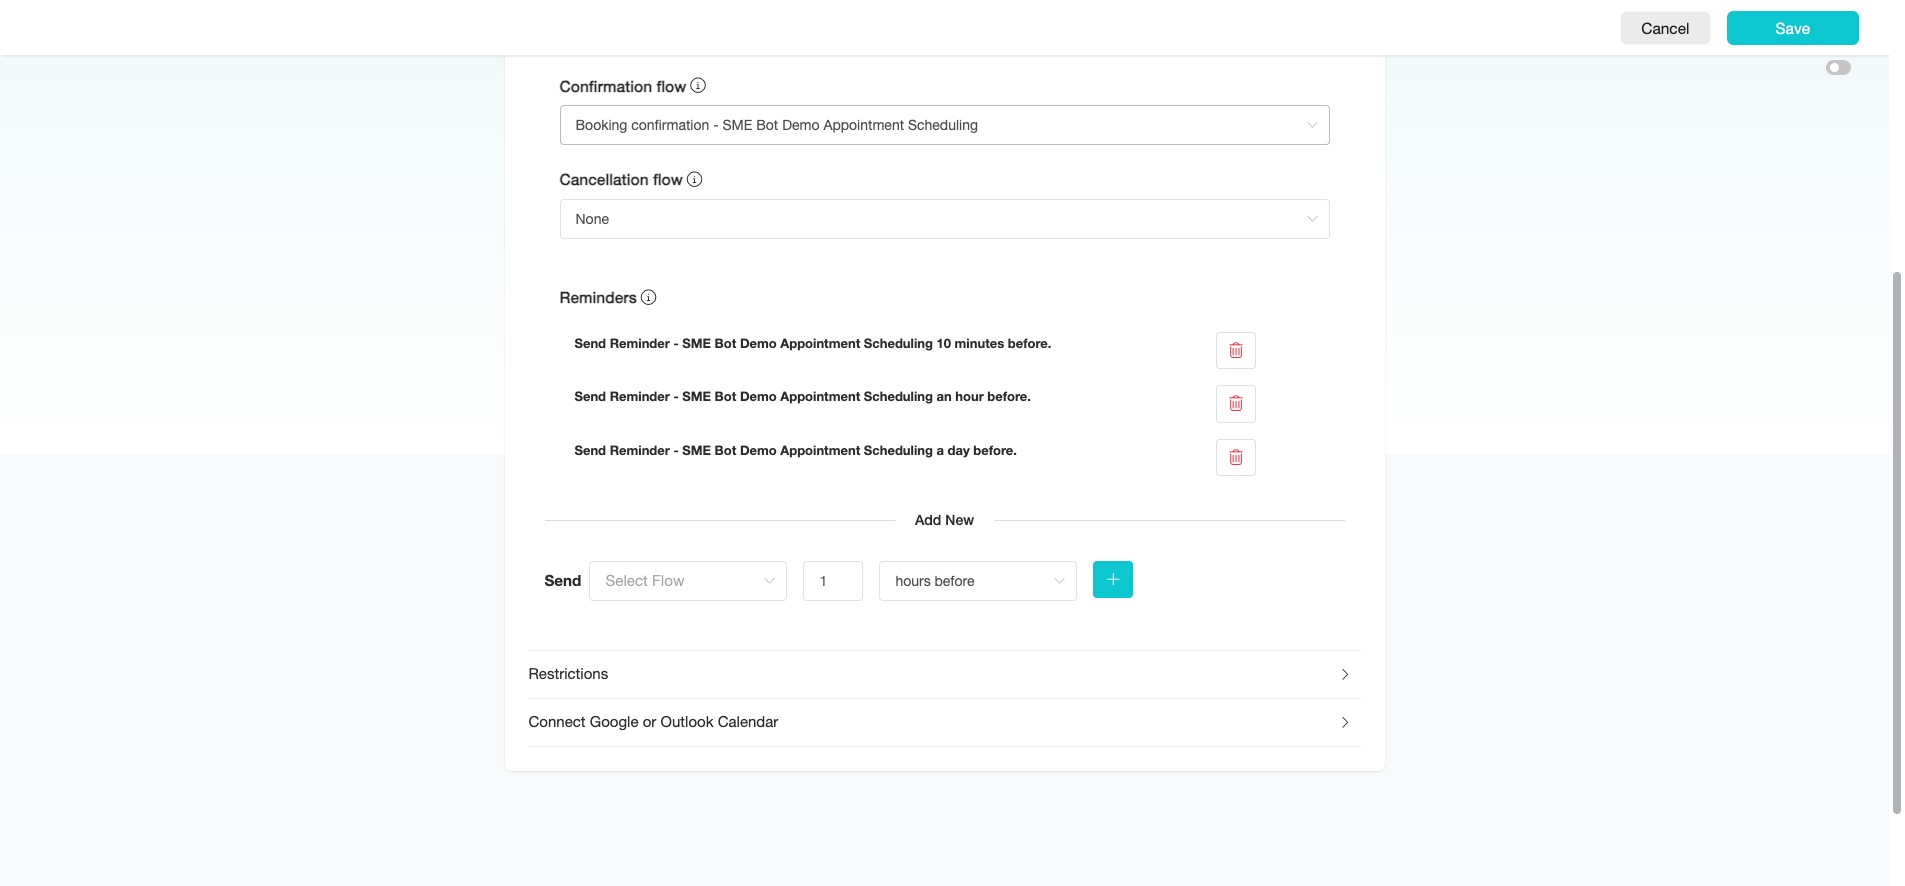
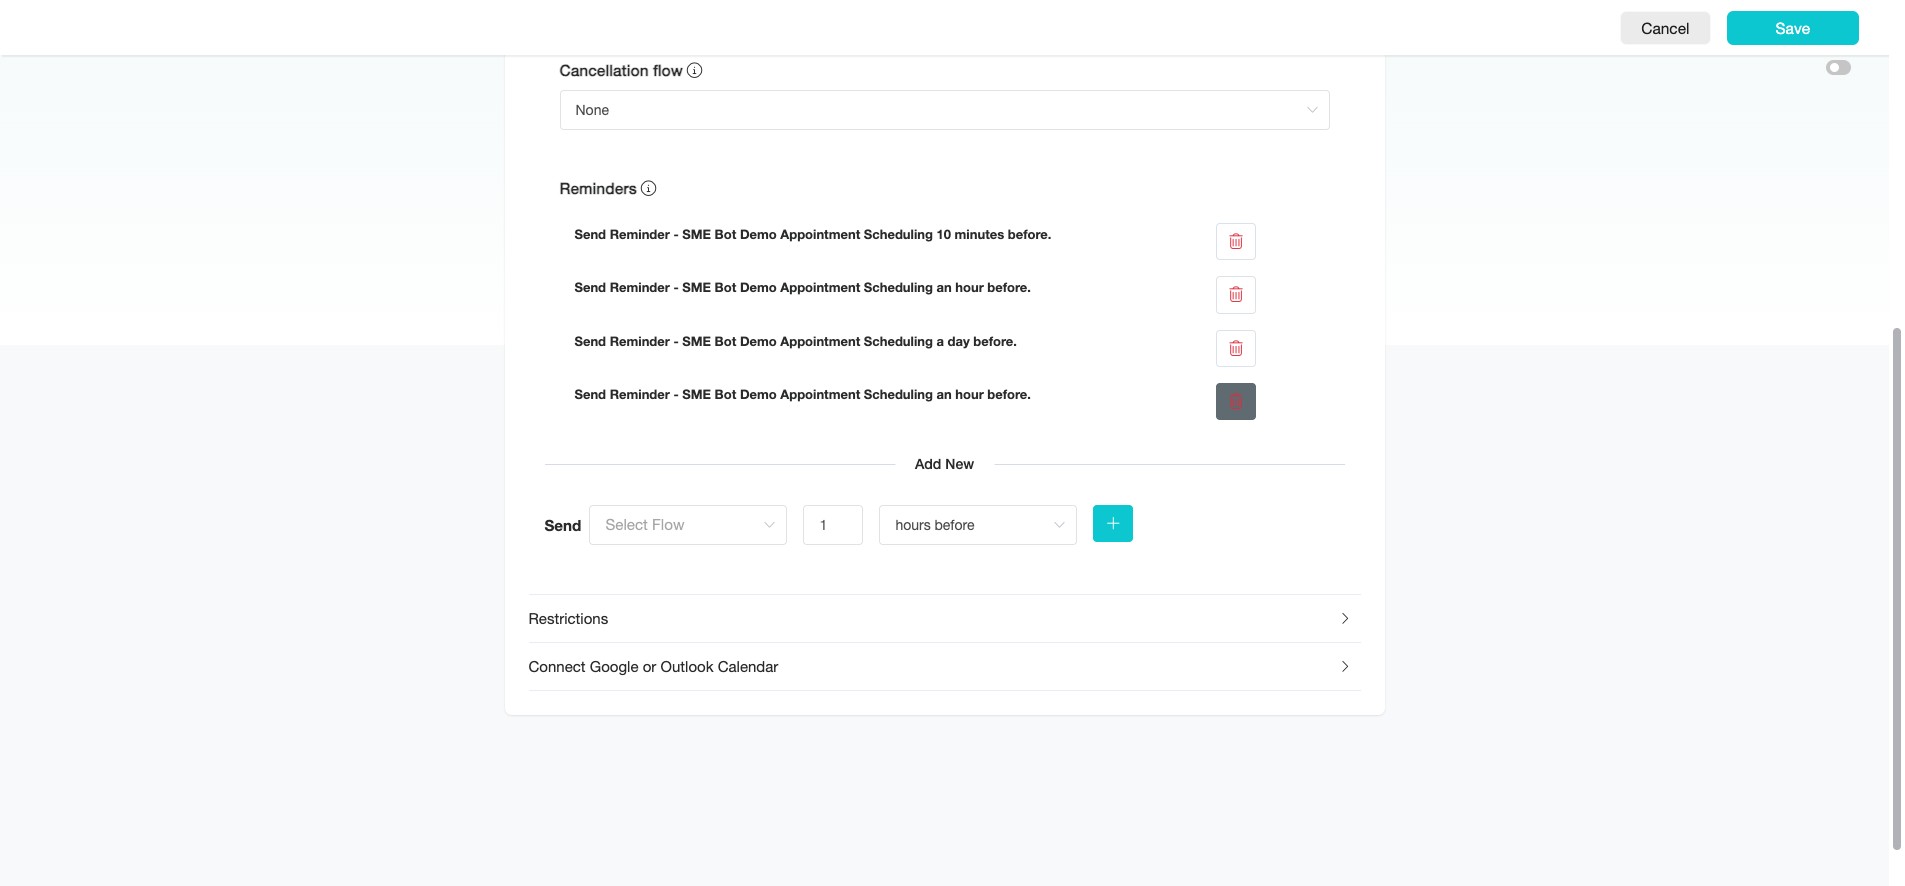
Under the "Reminder" section, this has been automatically created for you. It sends appointment reminders 10 minutes, 1 hour, and 1 day before the scheduled appointment.

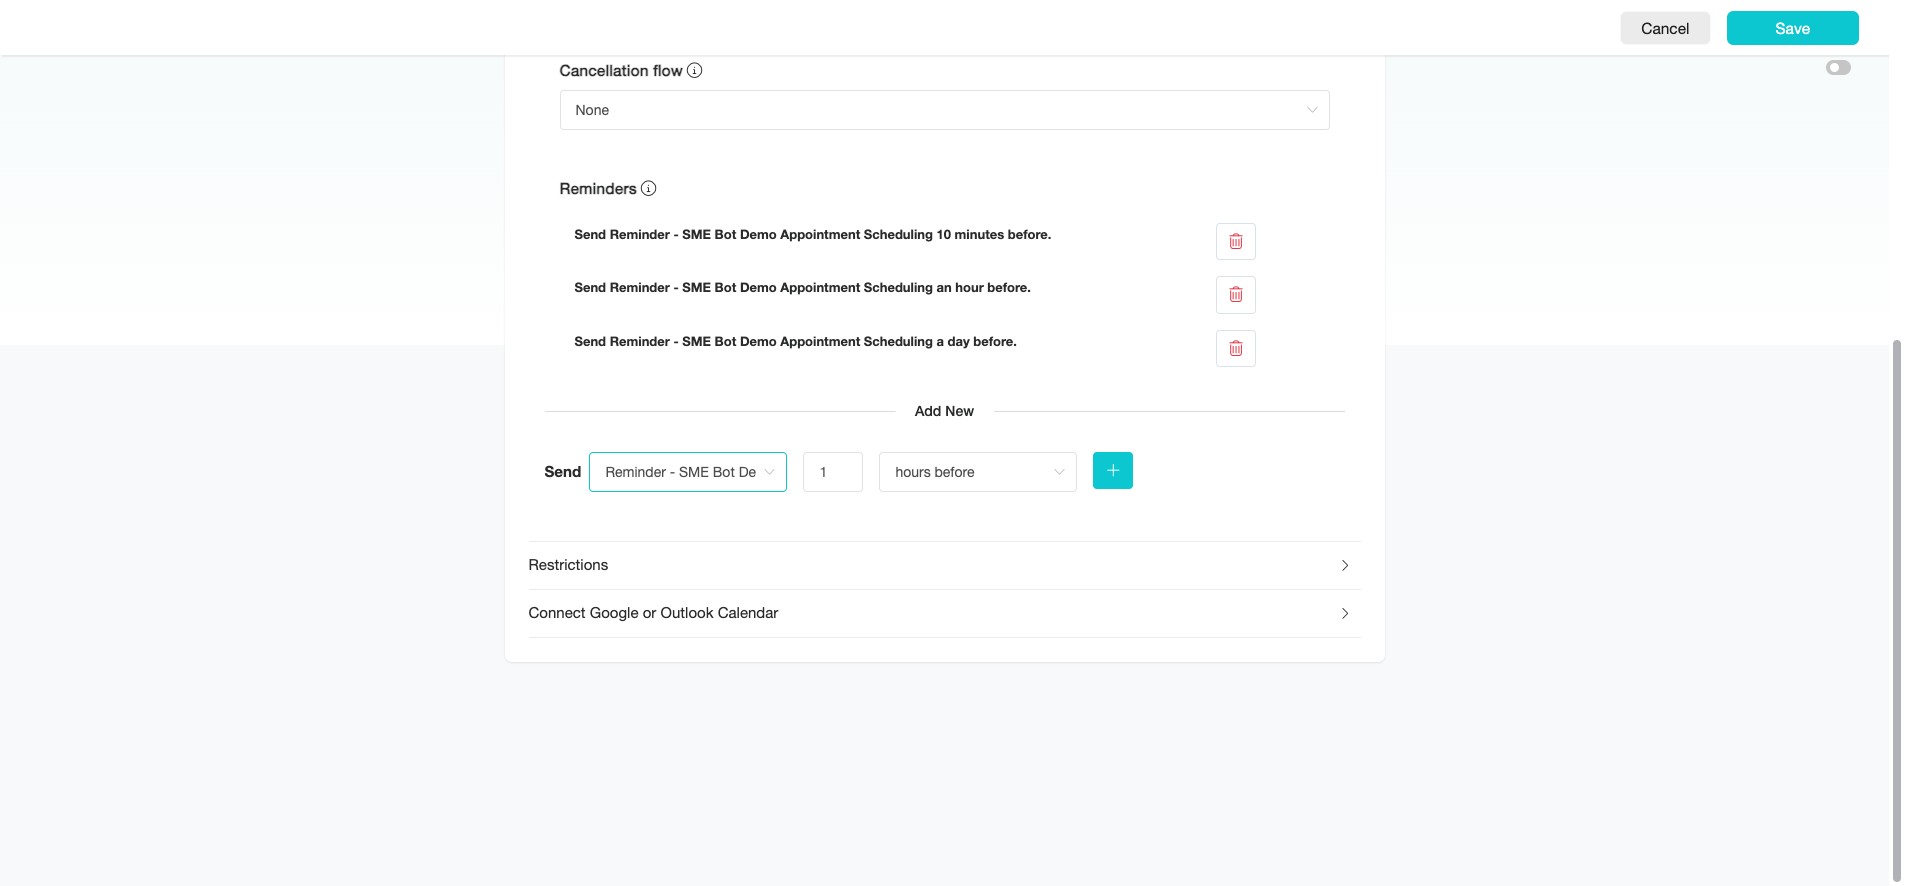
You can add a new reminder for the appointment if needed.

Click the "+" icon to add a new reminder.
Click the delete basket icon to remove the reminder.
Next, click the arrow icon on the right to configure the "Restrictions" for the appointment scheduling calendar.
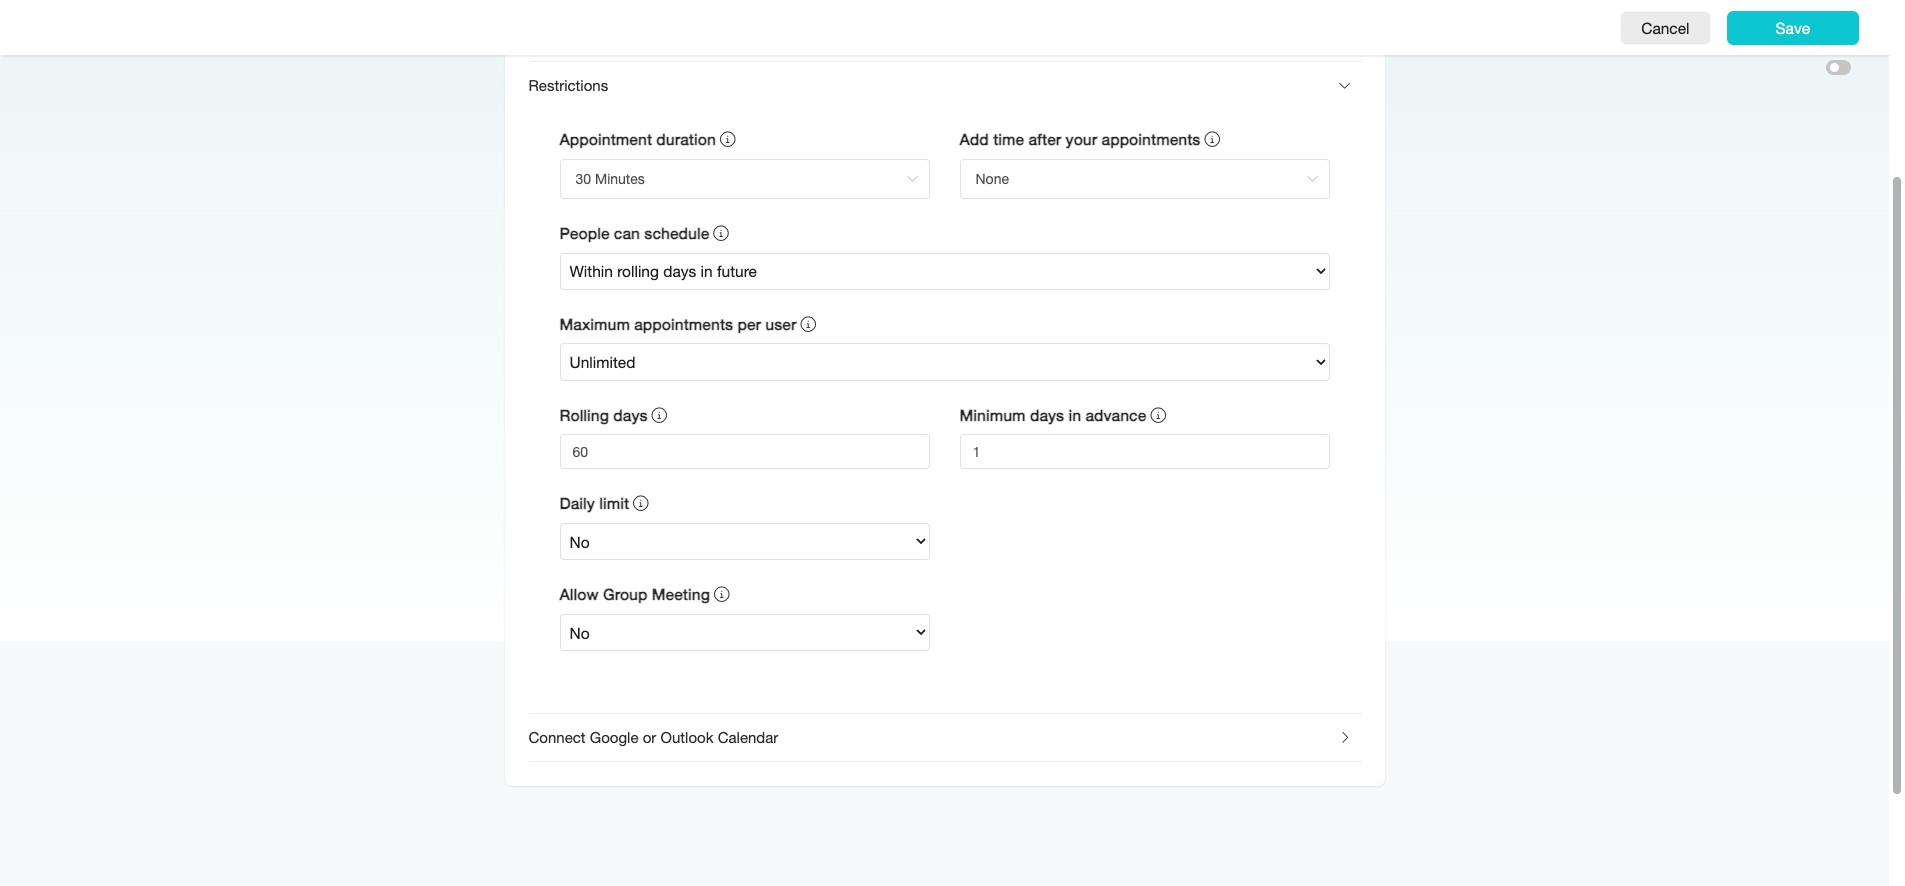
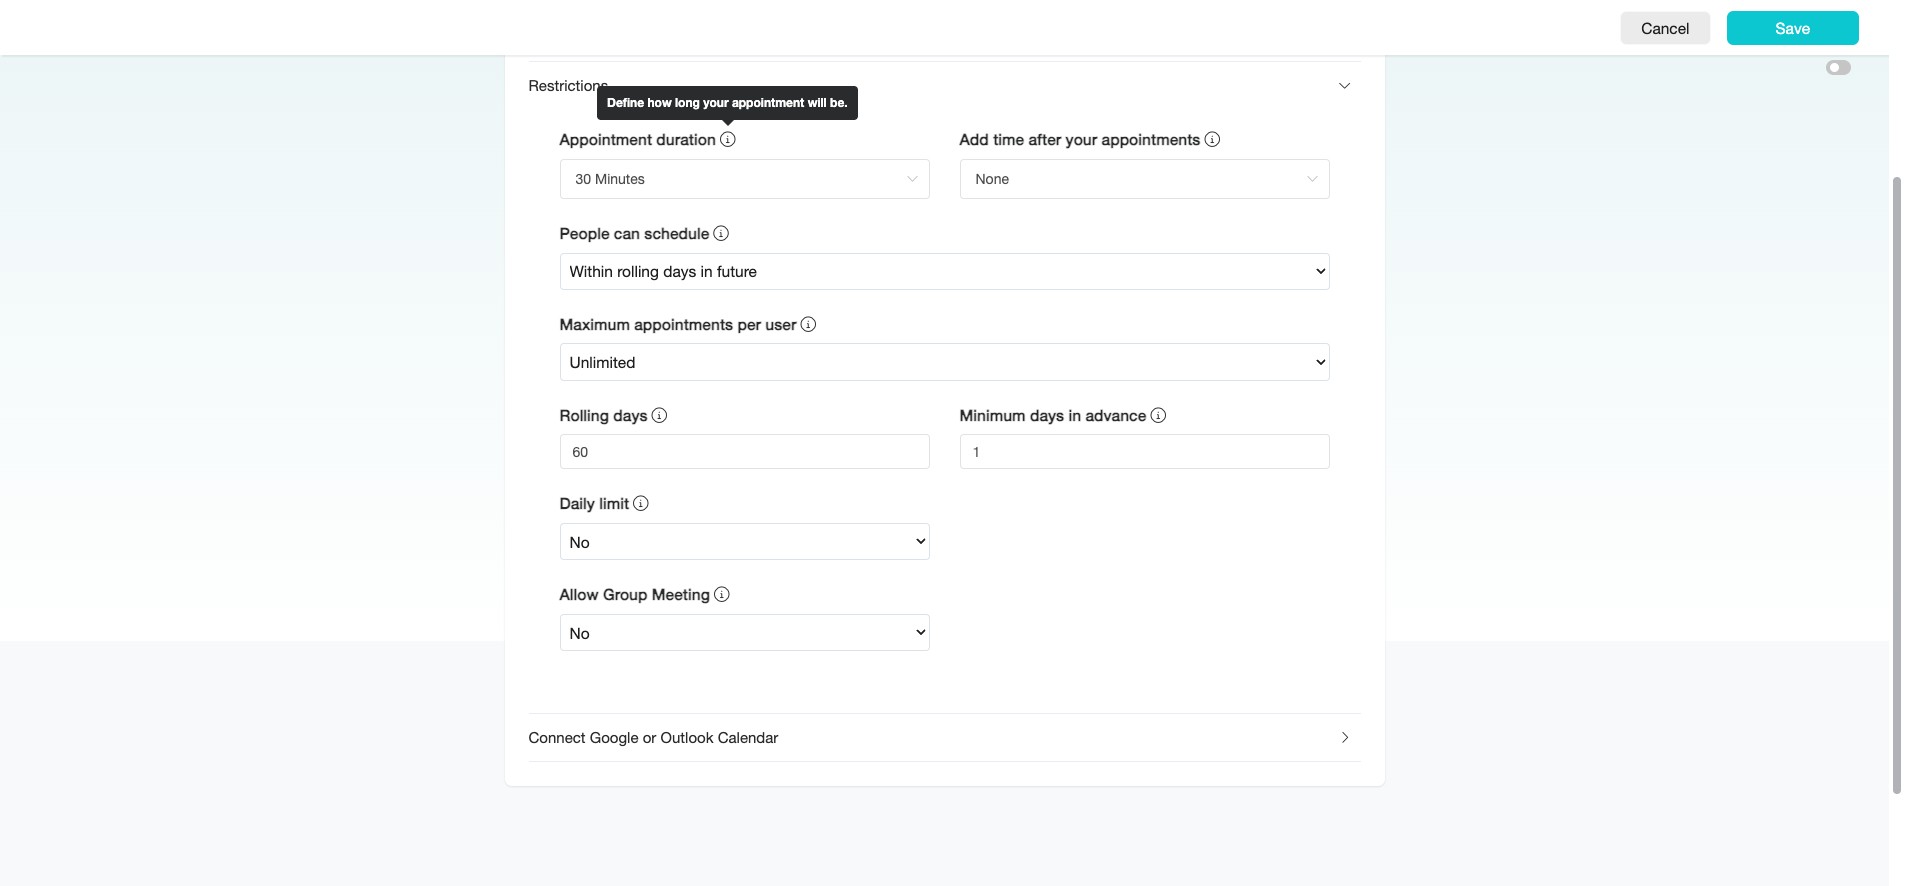
At the "Appointment Duration," define the length of time for the appointment.
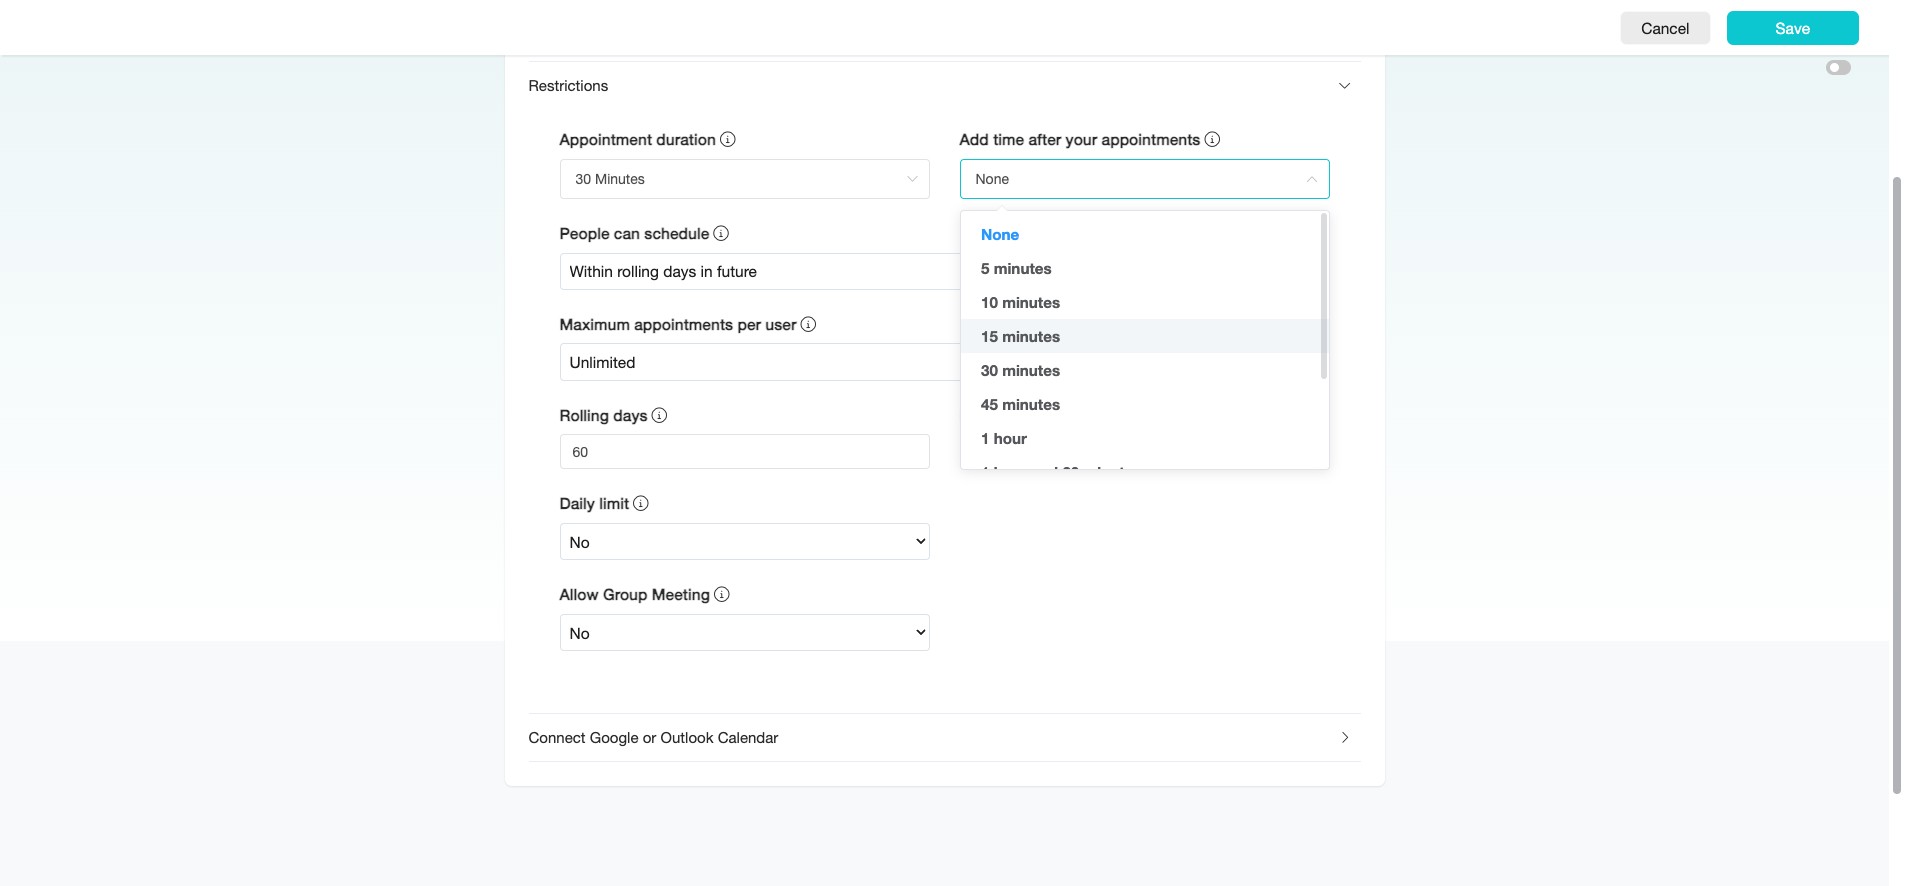
Set a buffer under "Add time after your appointment" to transition smoothly between appointments.
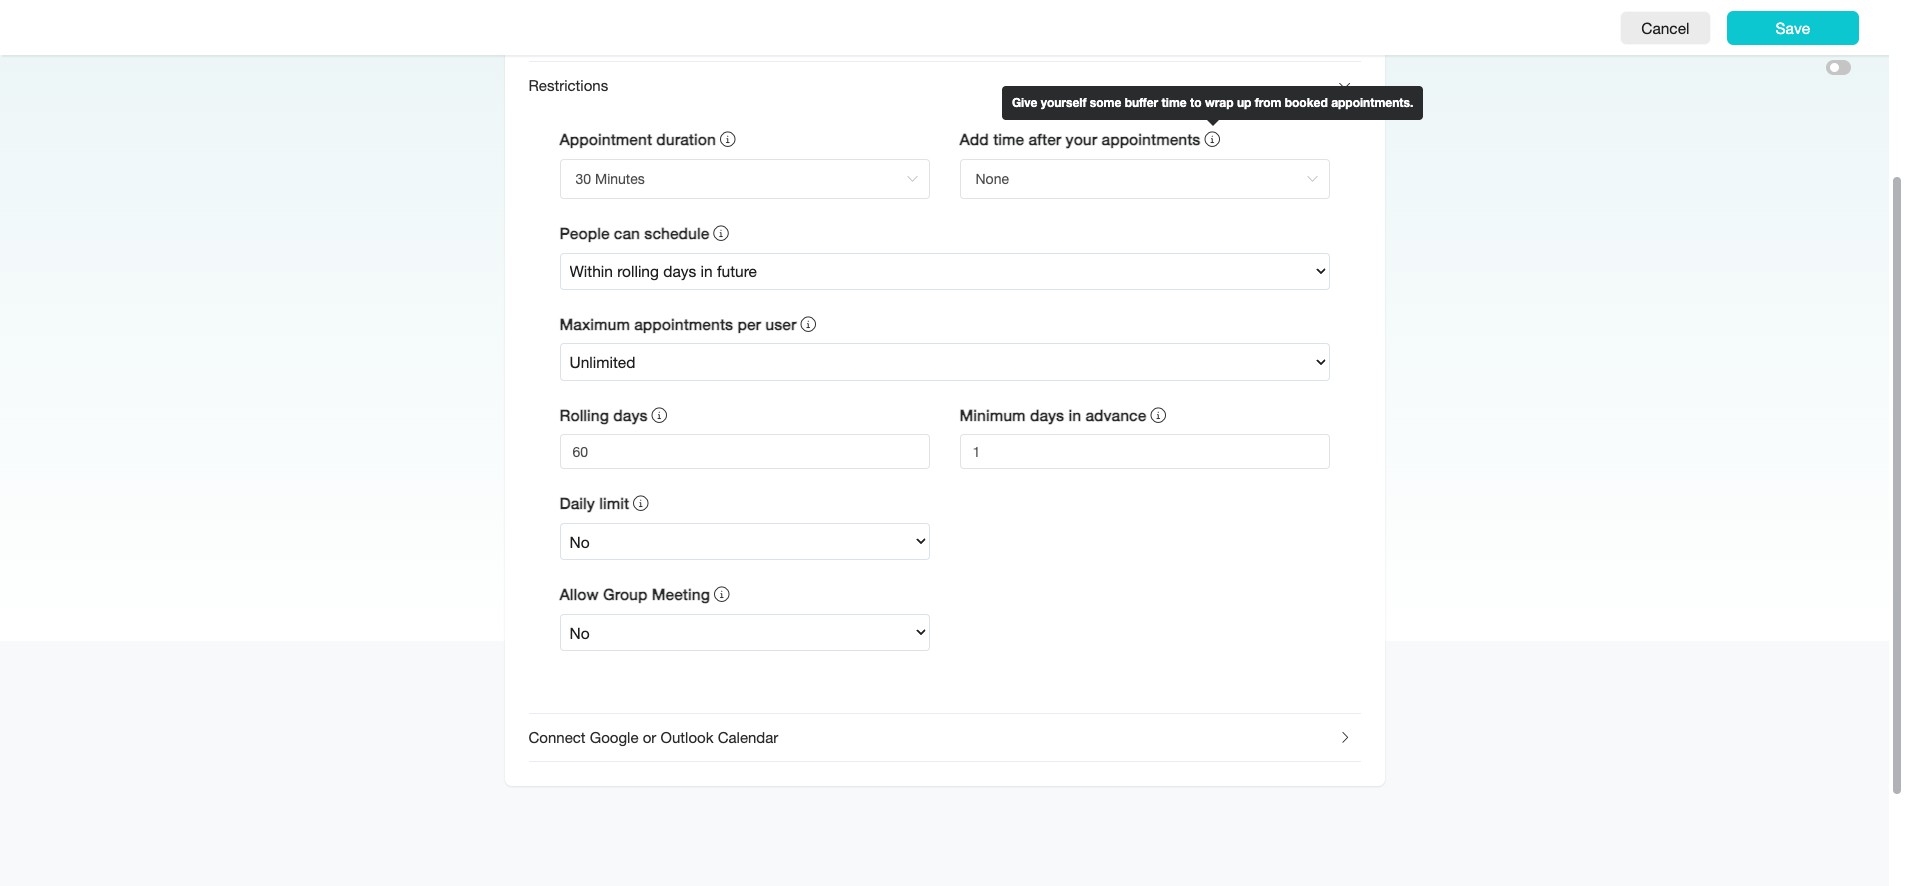
Set a longer buffer for travel, or a shorter one for online or on-site appointments.
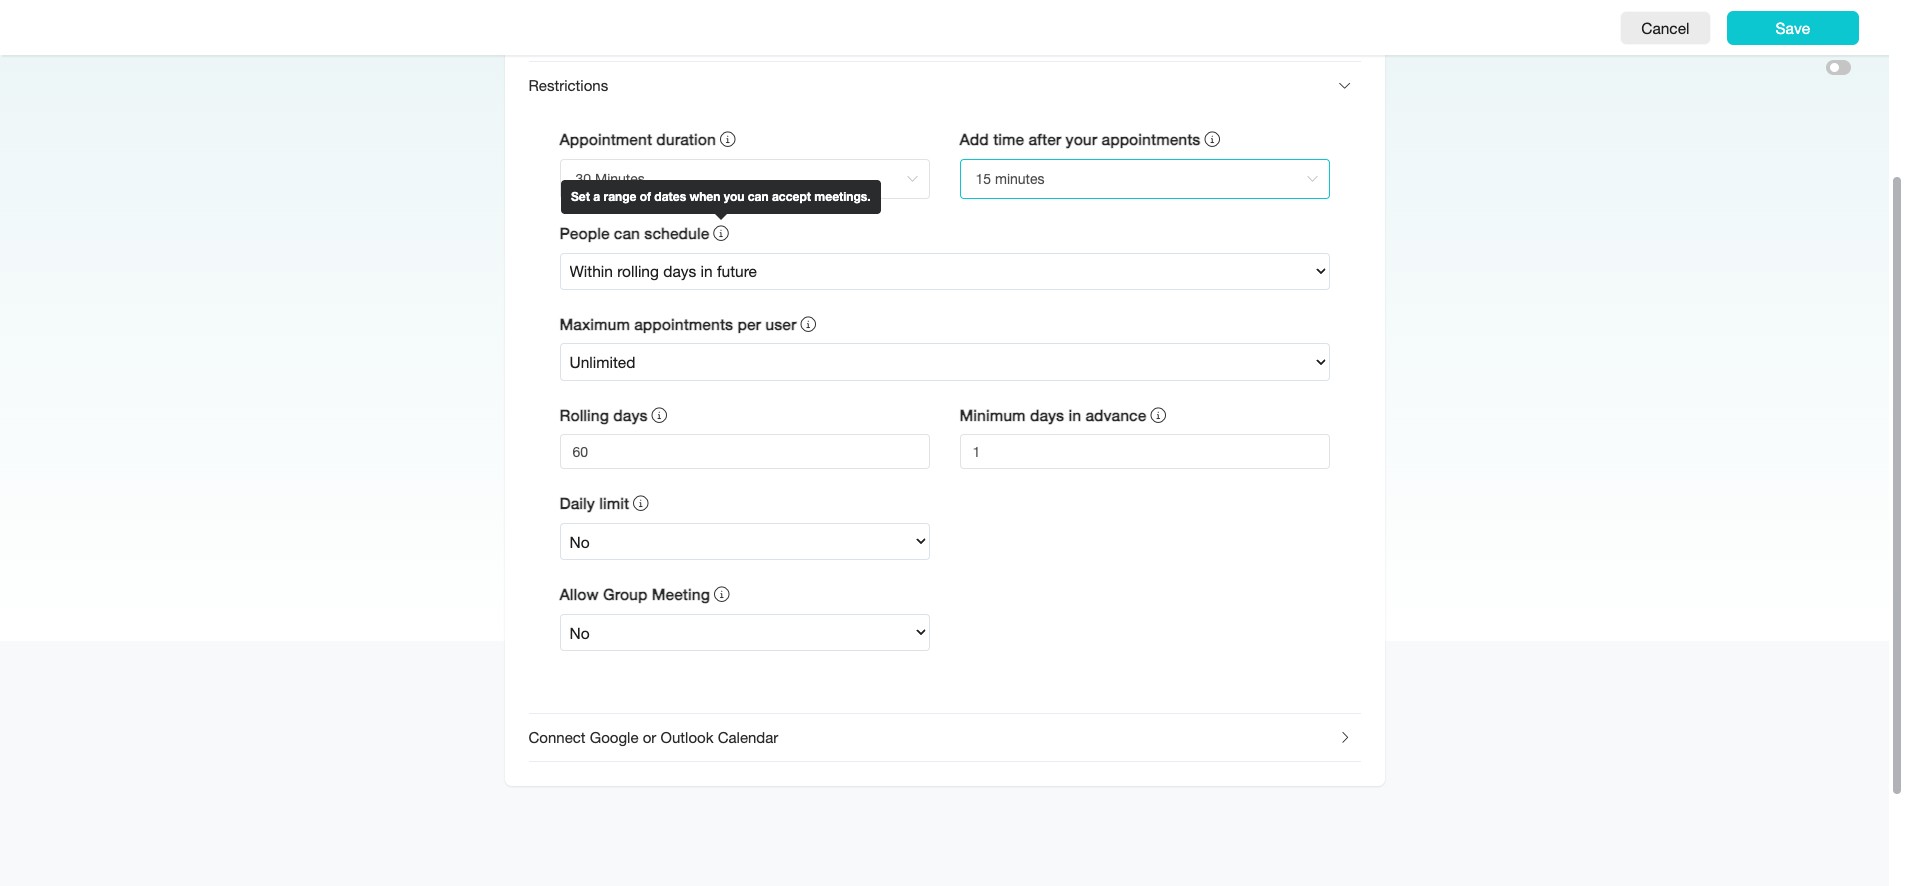
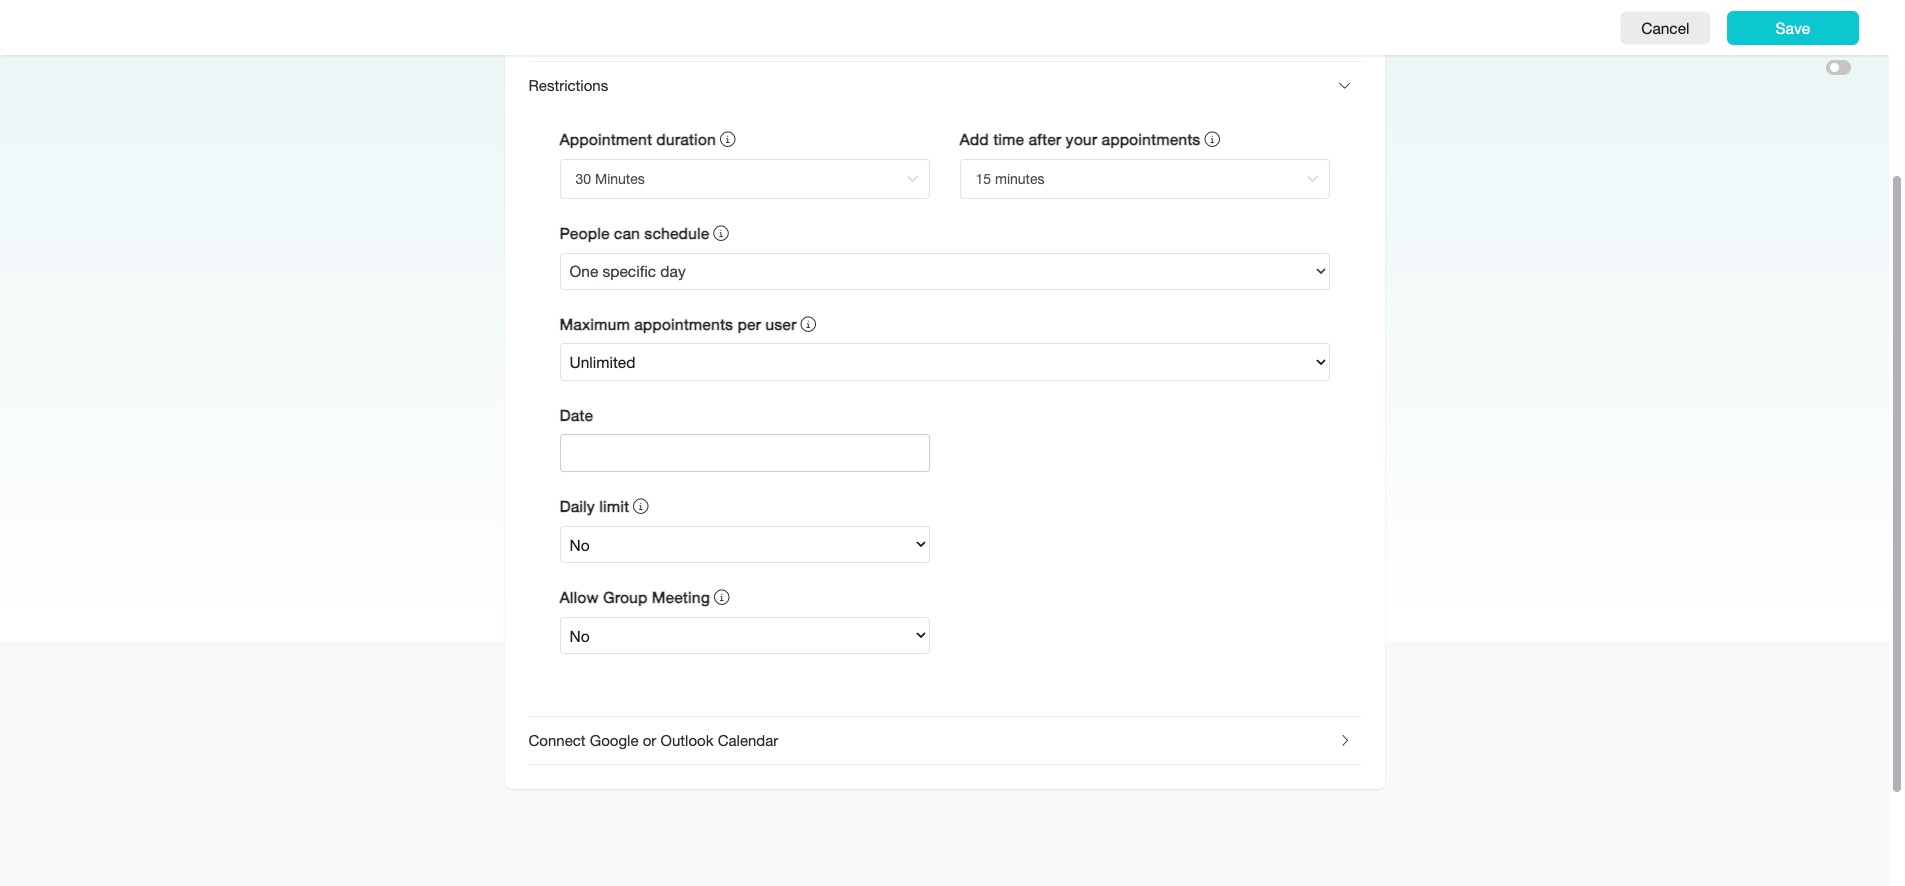
At "People can schedule," set the date range you're available for appointments.
For evergreen scheduling, select "Within rolling days in future" to let users book appointments within a continuously updating date range.
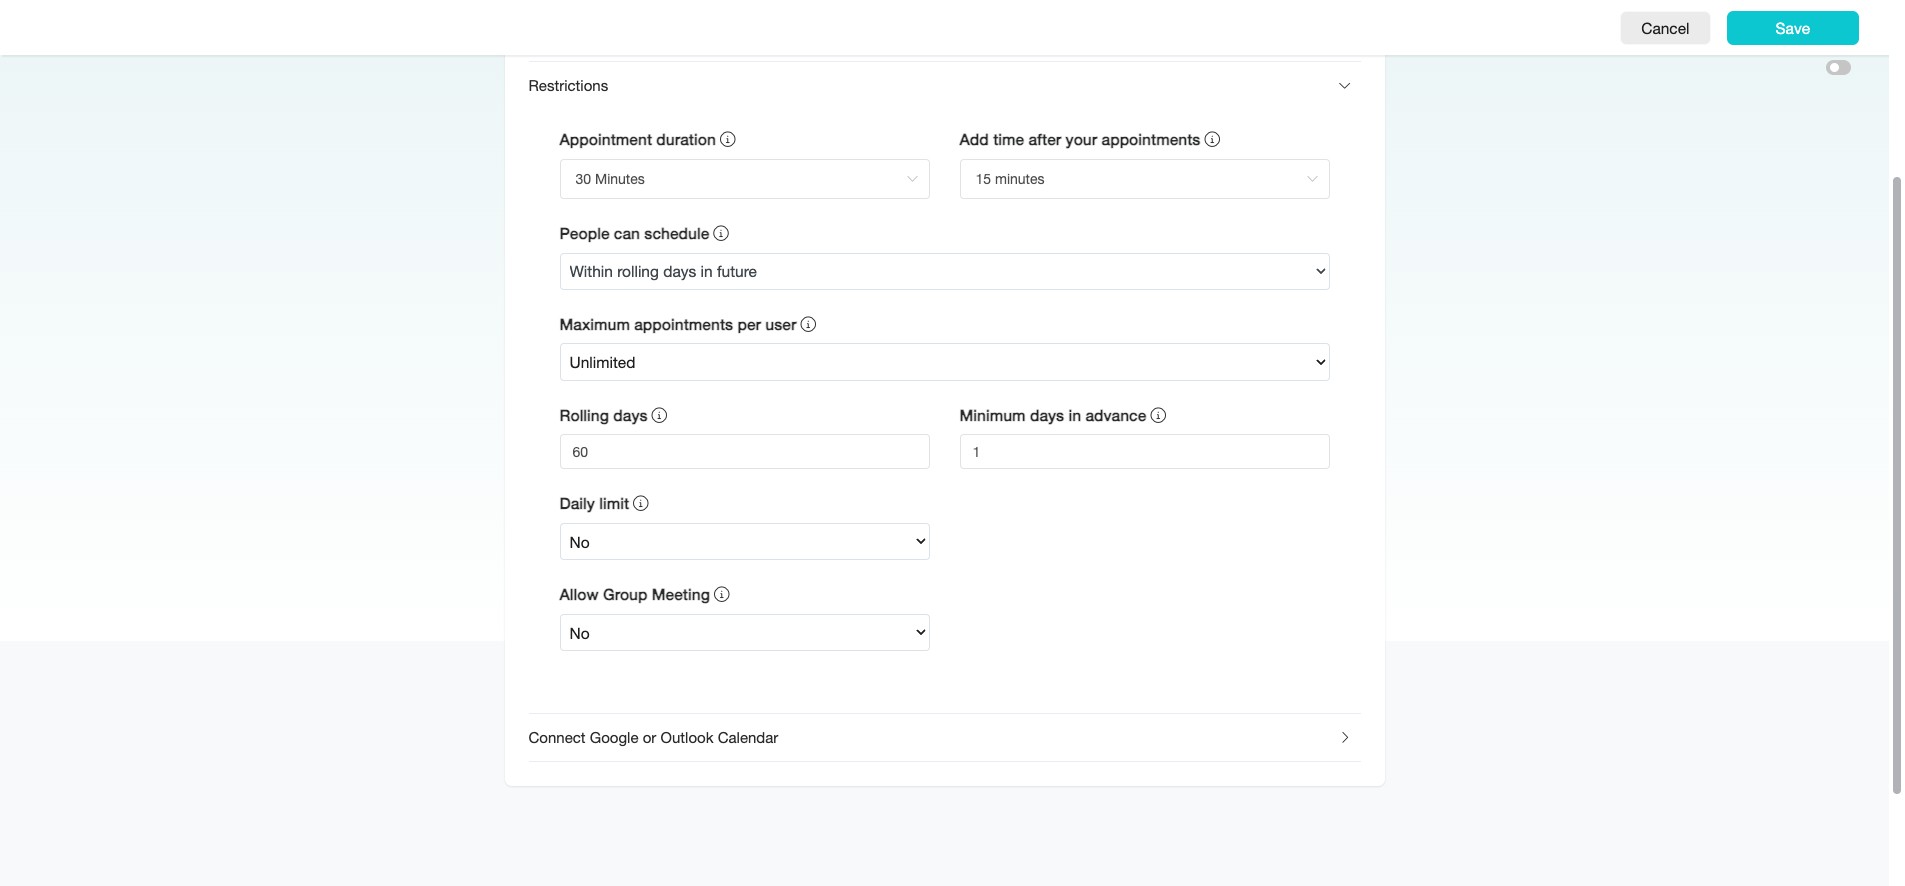
For example, setting it to 60 days means users can always book within the next 60 days from today.
If the appointment is for a specific event, select "Within a date range" or "One specific day".
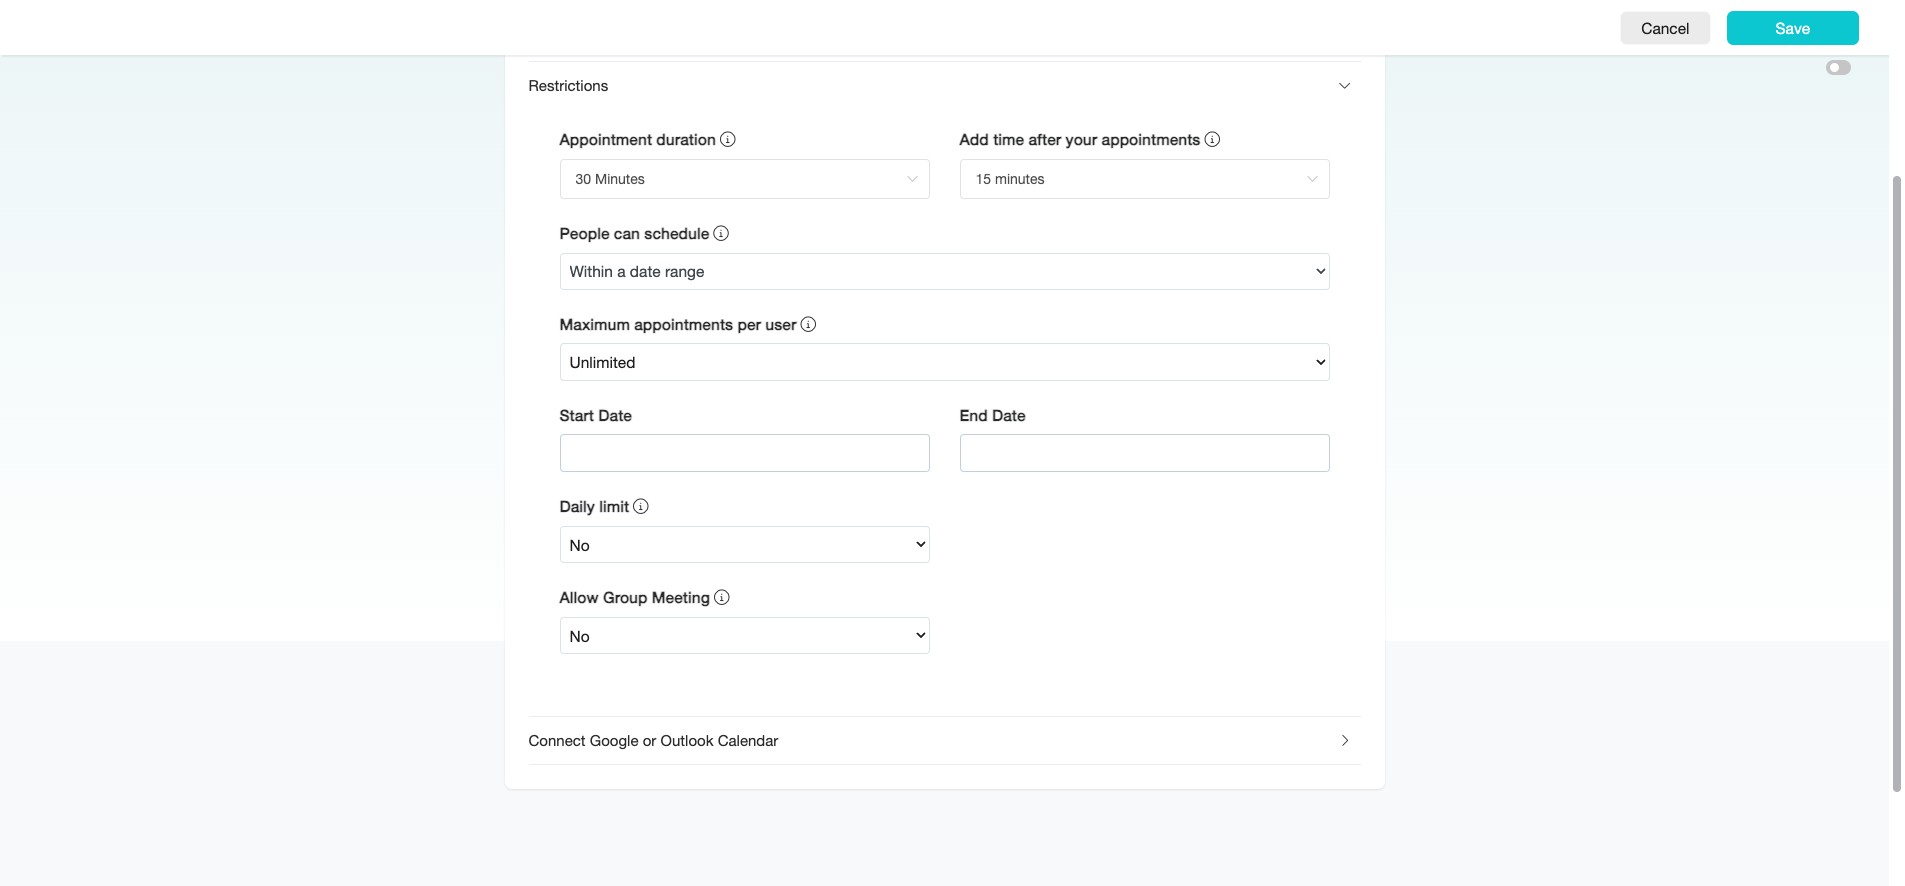
This limits booking availability to a fixed period or single date.
Select "At any date in future" to allow users to book appointments without any future date restrictions.
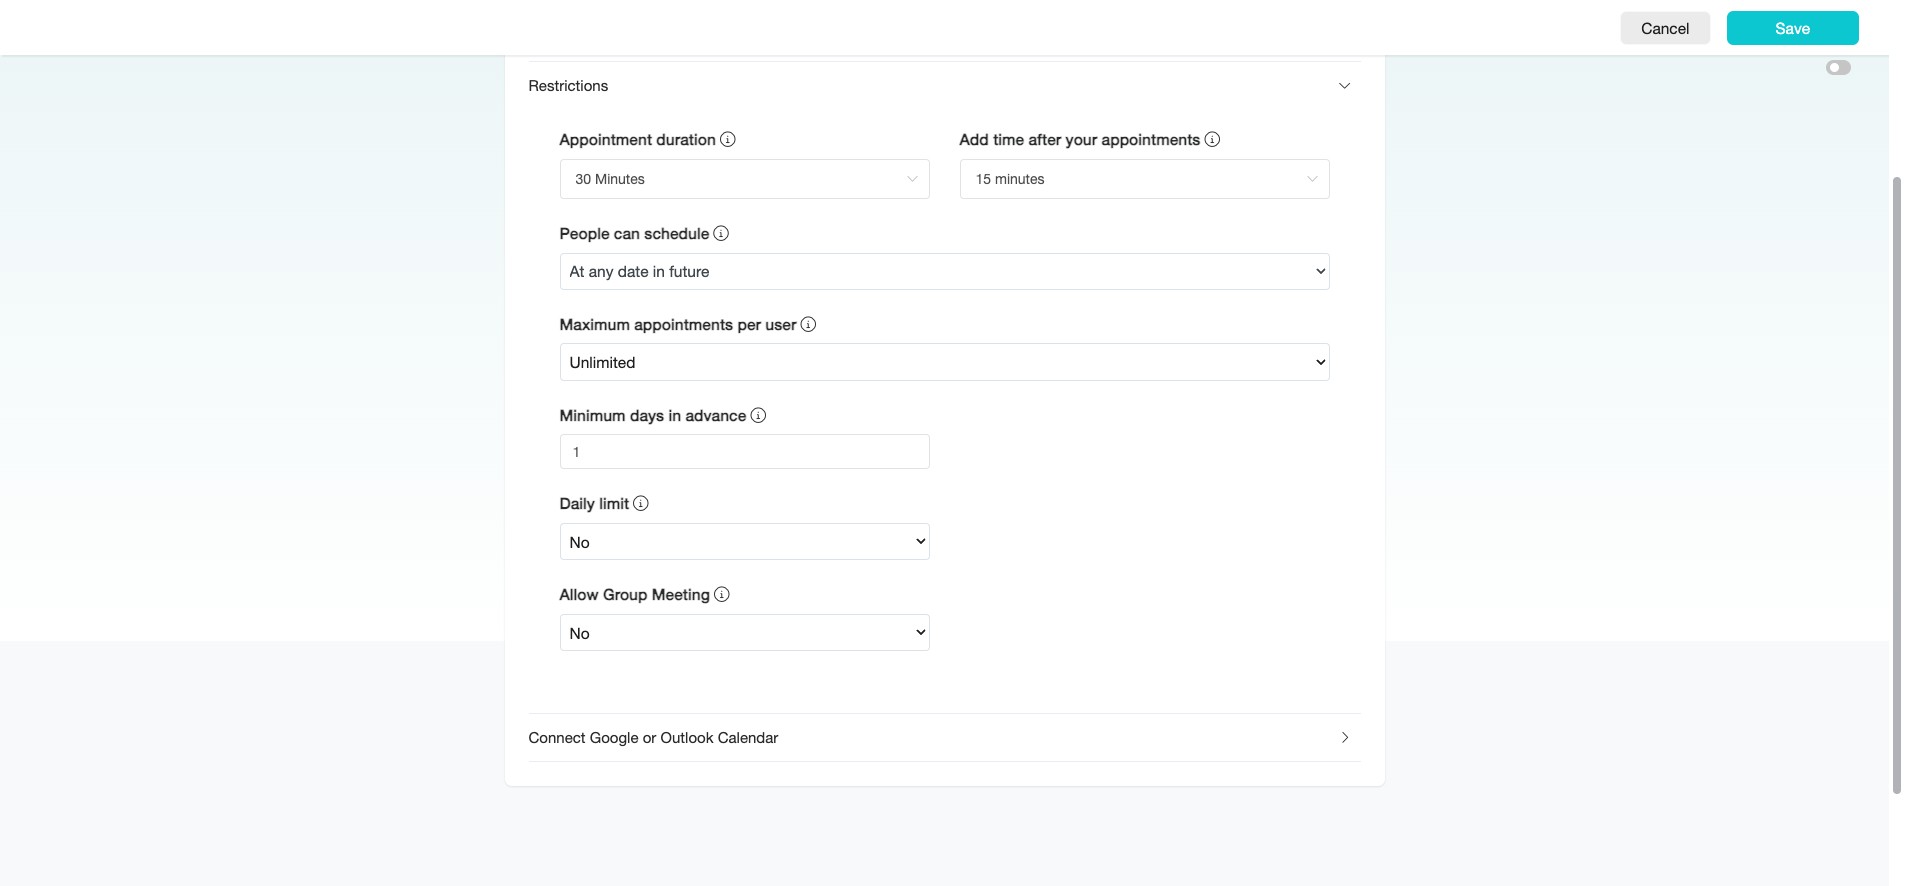
At "Maximum appointments per user," set the maximum number of future appointments a user can book.
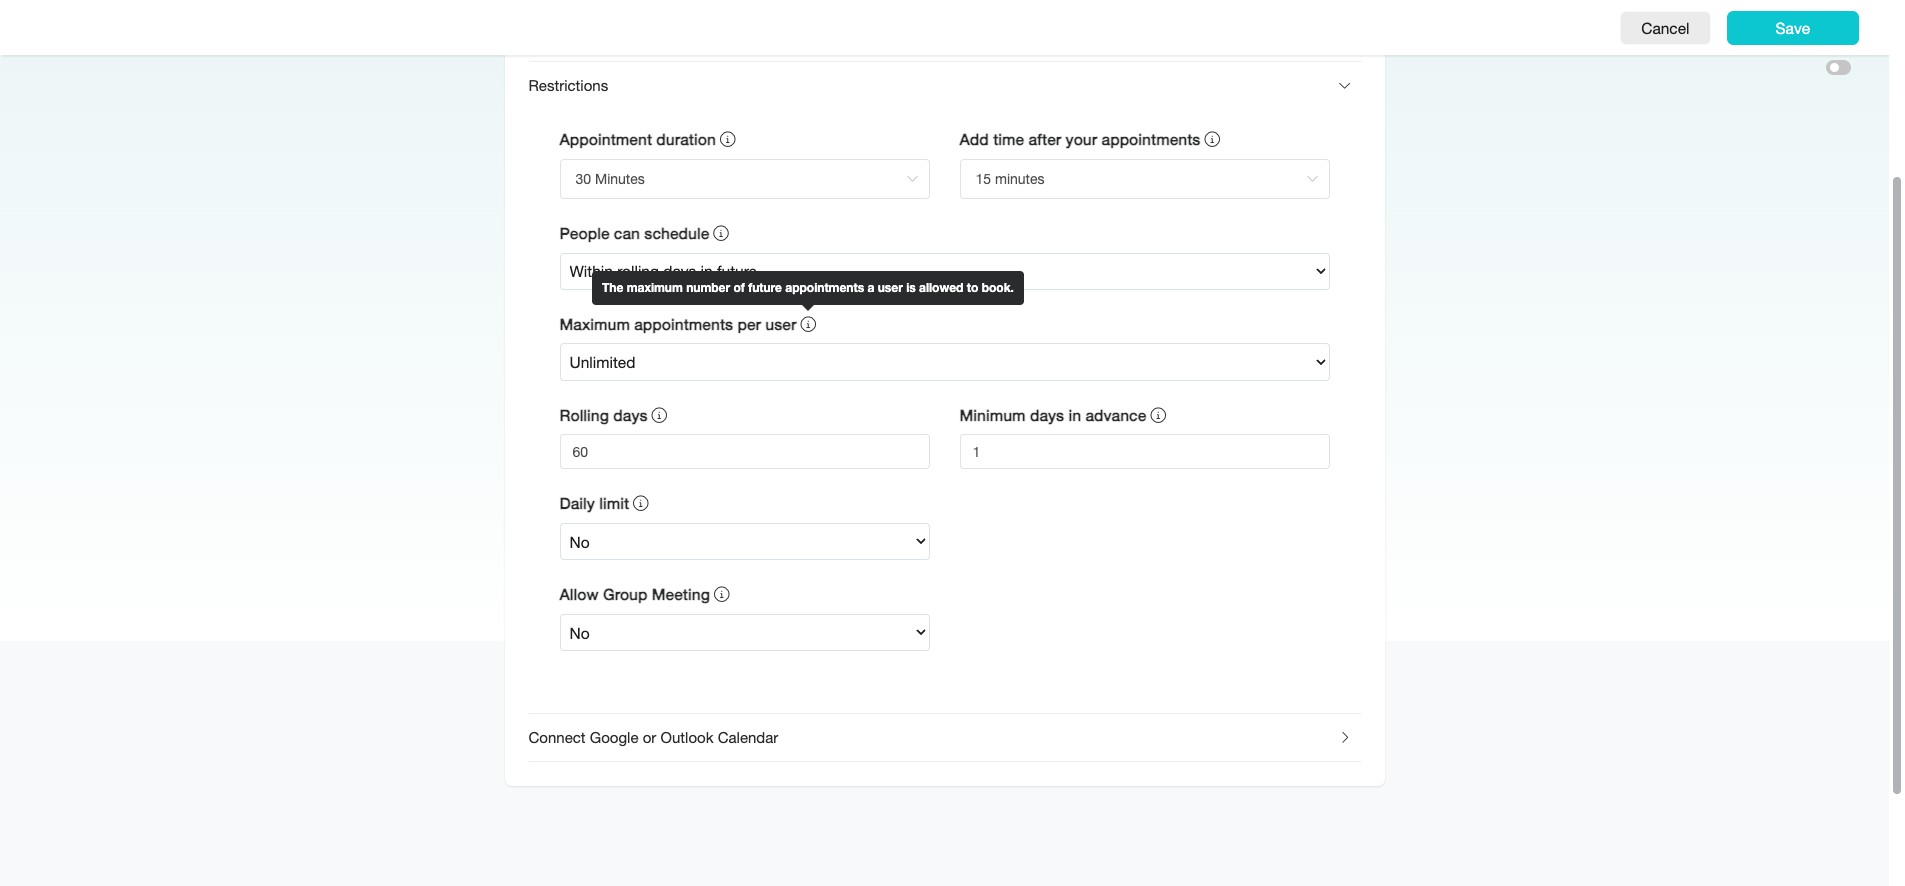
Number of "Rolling Days" can be set when you select "Within rolling days in future" under the "People can schedule" section.

Set "Minimum days in advance" to define the earliest time users can schedule an appointment. This gives you time to prepare if needed.
"Daily limit" sets the maximum number of appointments that can be booked per day. If "No" is selected, there is no limit.

"Allow Group Meeting" enables multiple users to book the same time slot. Select "No" for 1-on-1 appointments or "Yes" for group events or activities.
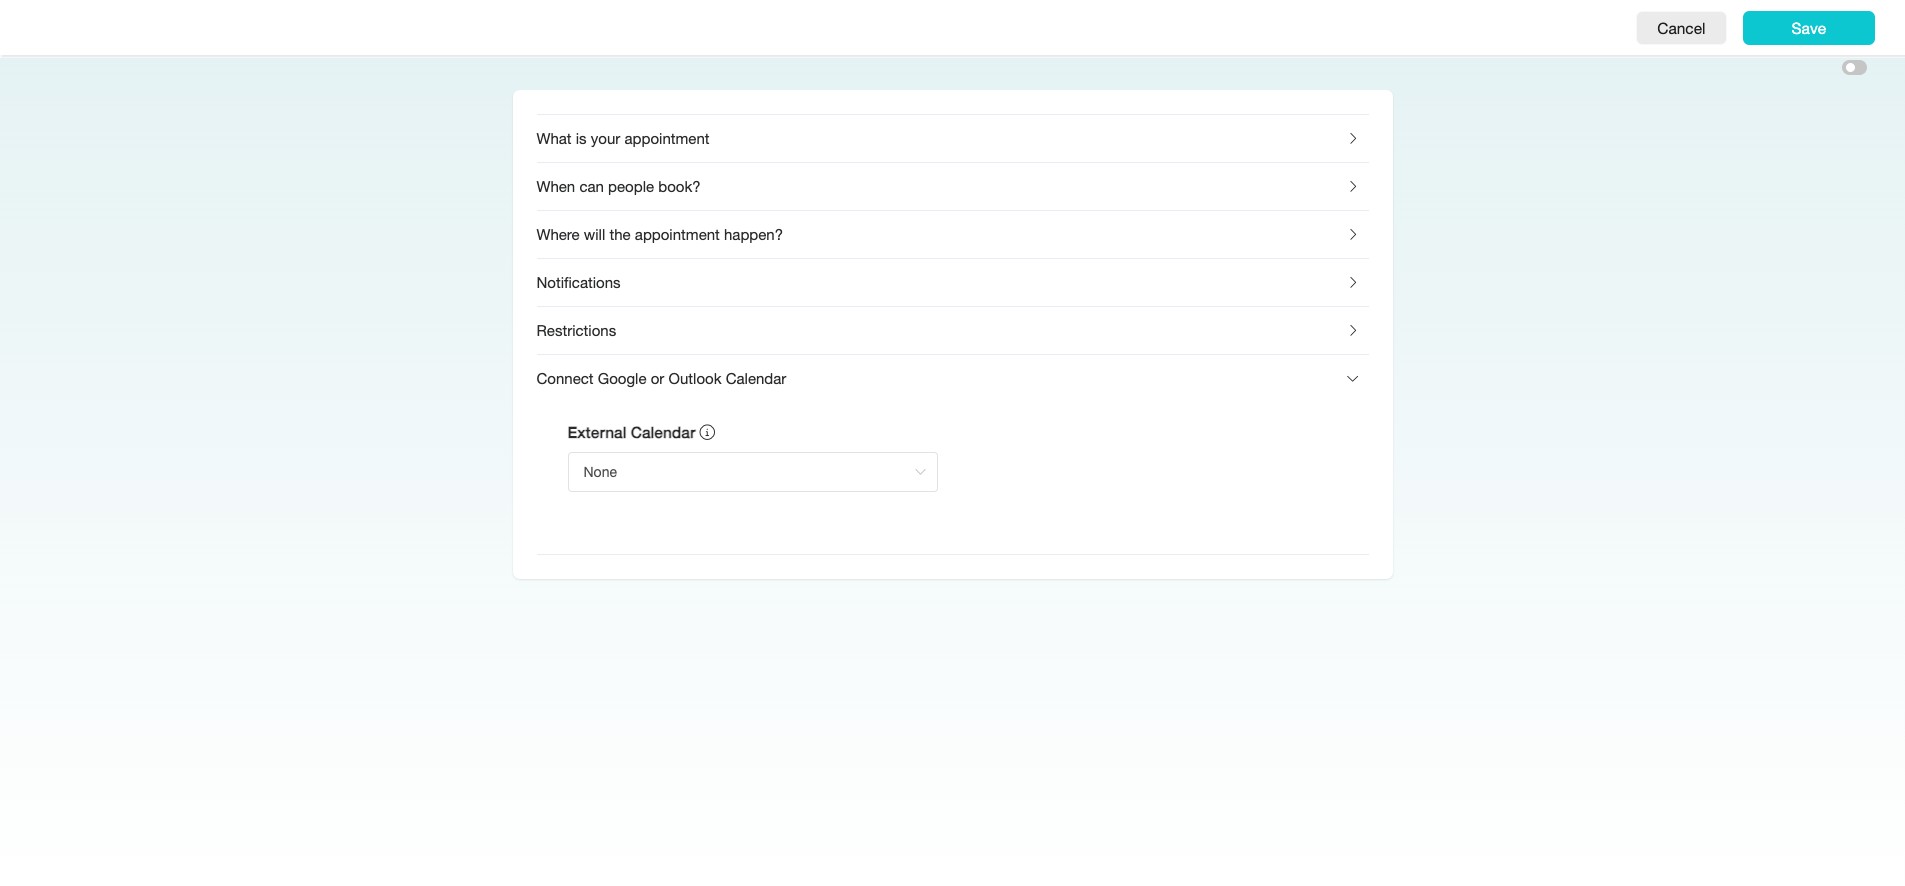
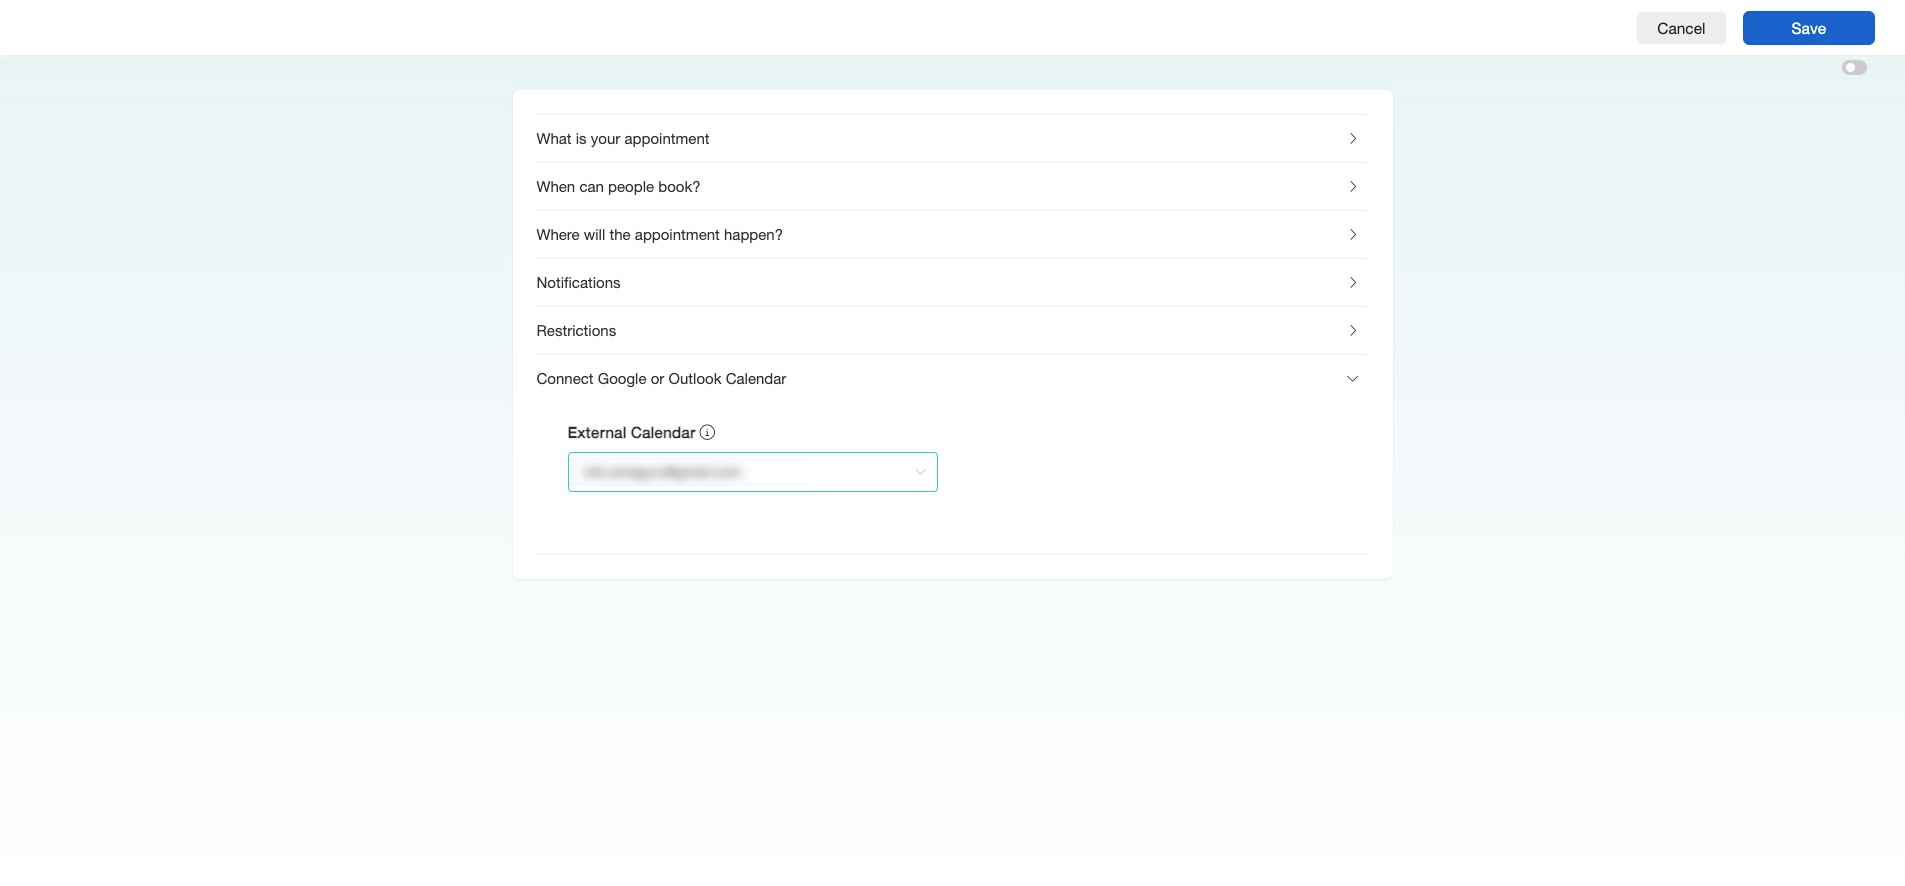
Finally, click the arrow icon on the right "Connect Calendar" to select the "External Calendar" you want to connect. Ensure that you have completed the "Calendar Integration" steps first.
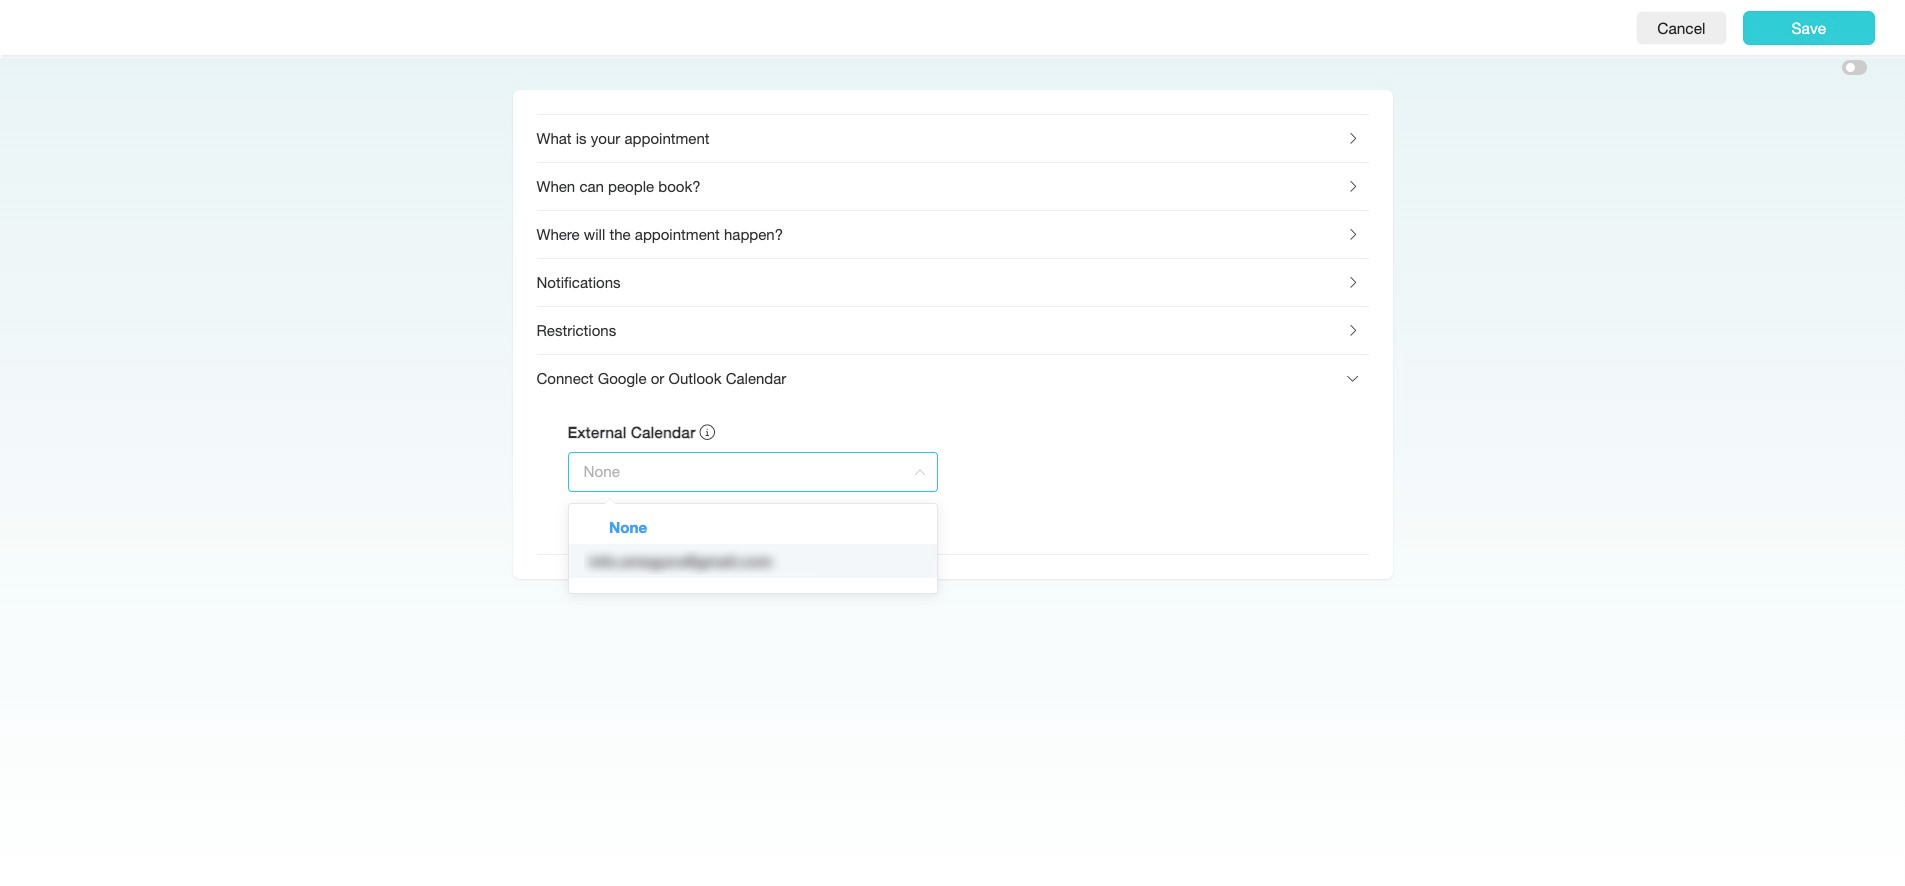
Click on the dropdown to select the desired calendar.
Click on that desired calendar's email.
Click "Save"
Click the three dots icon next to your Appointment Scheduling Calendar, then select "Get Link" to integrate it into your Flow.
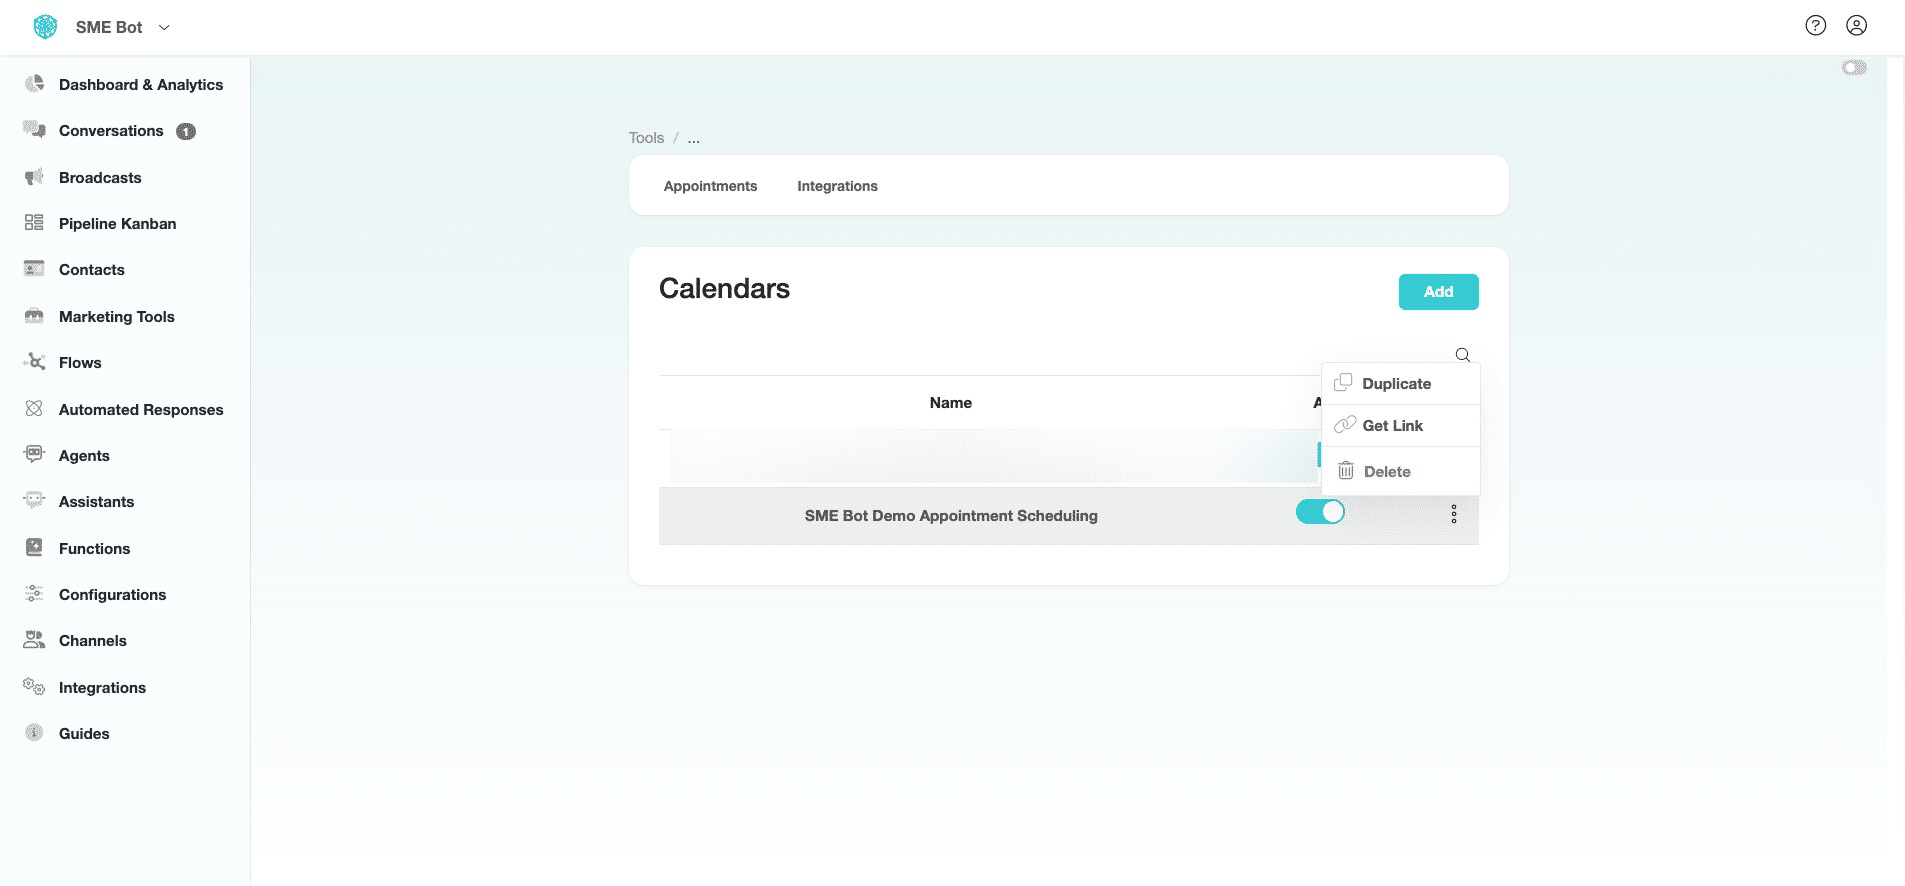
Or click on the three dots icon to select "Duplicate" to quick set up the same Appointment Scheduling and connect a different calendar (see Step 46).
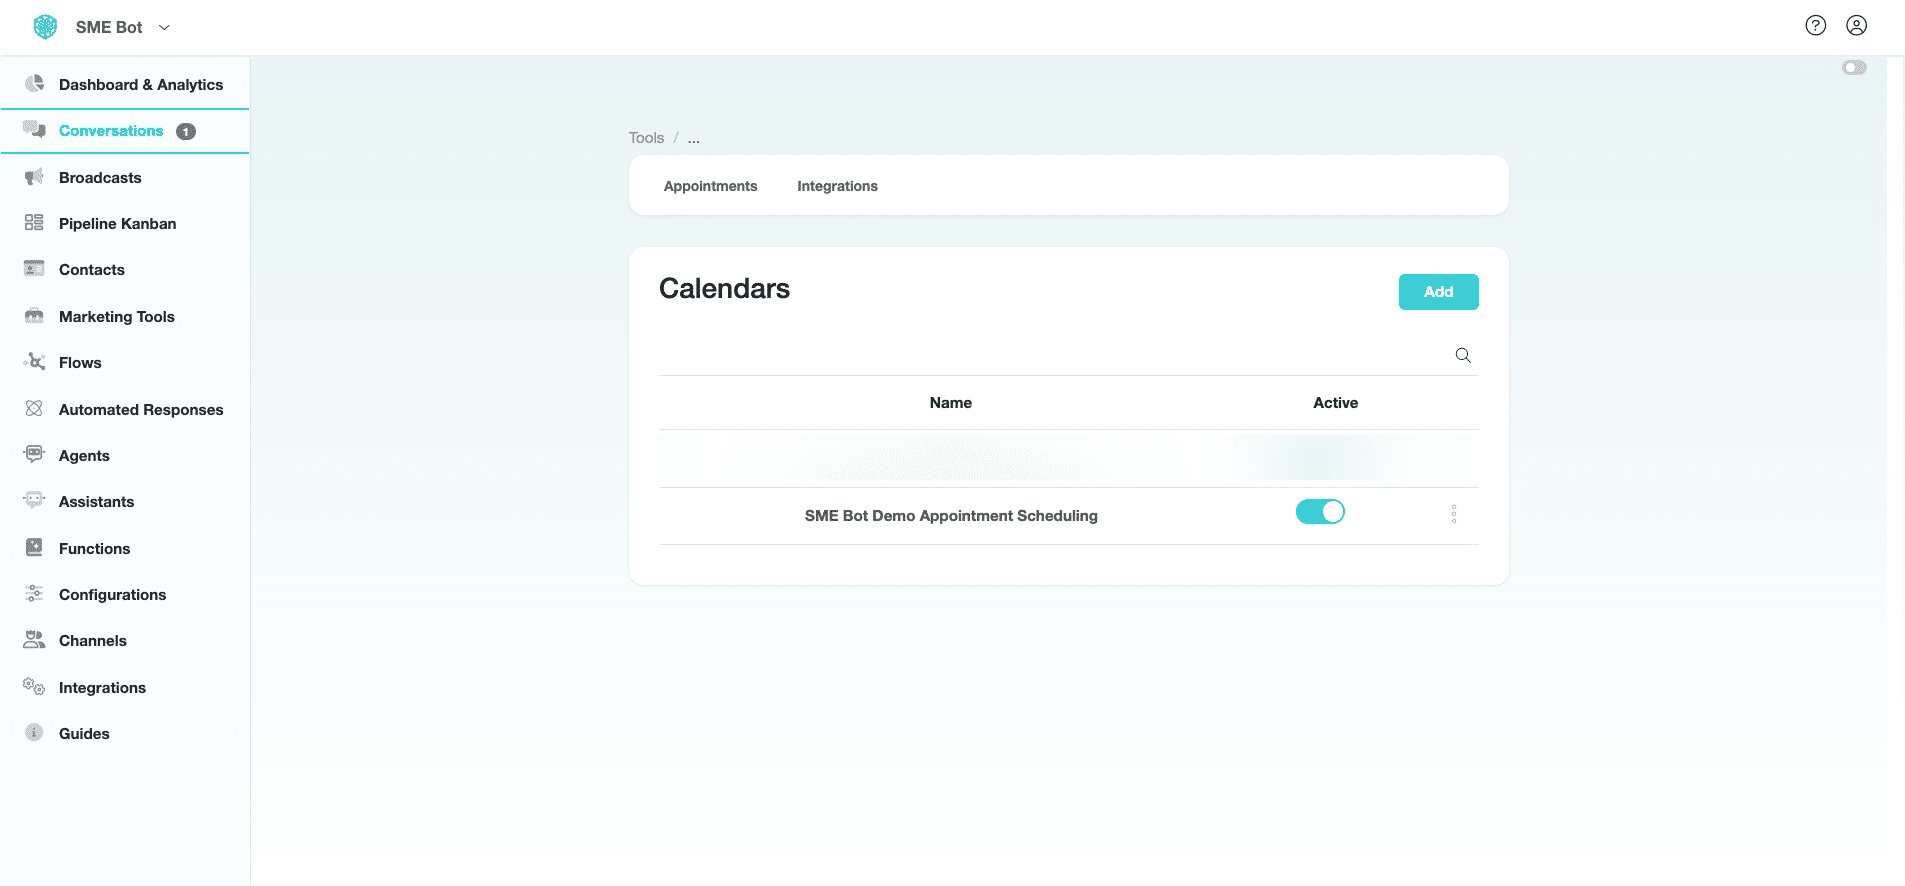
In "Appointment Scheduling", click "Appointments" to view all booked appointments, or click "Integrations" to connect additional External Calendars.
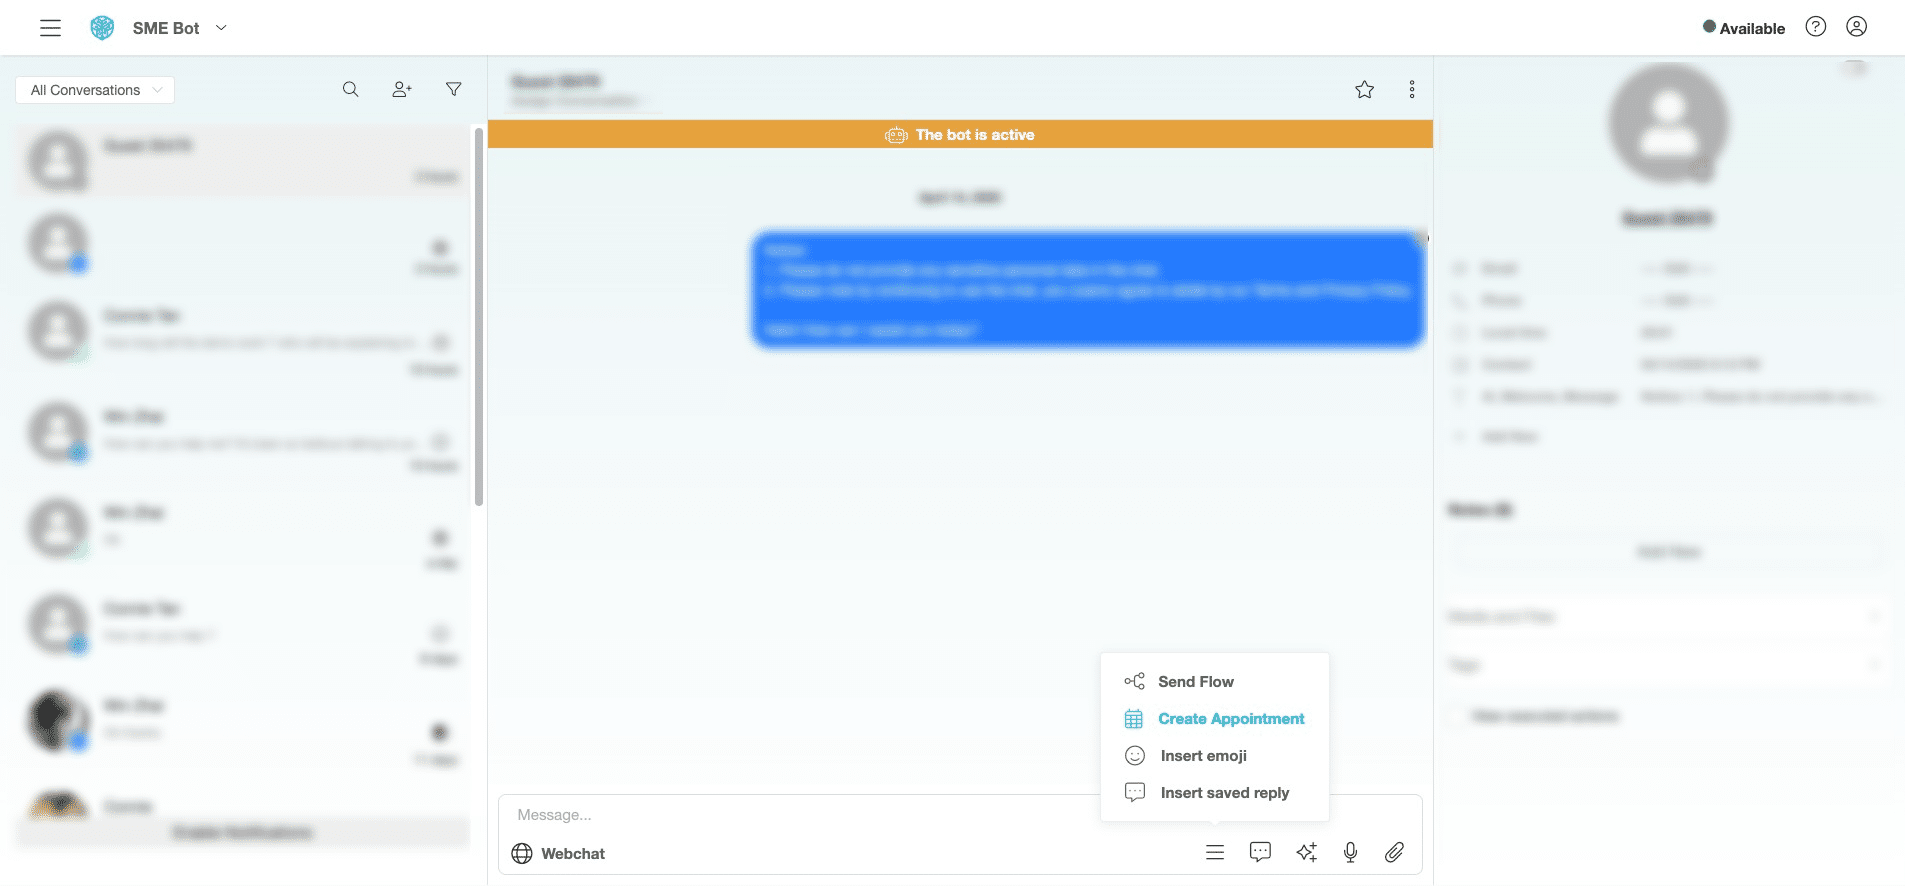
To manually share Appointment Scheduling Link to a contact in the "Conversations", click on "Conversations" on the left menu.
In "Conversations" with the contact, click the hamburger icon (three lines) at the bottom of the screen.
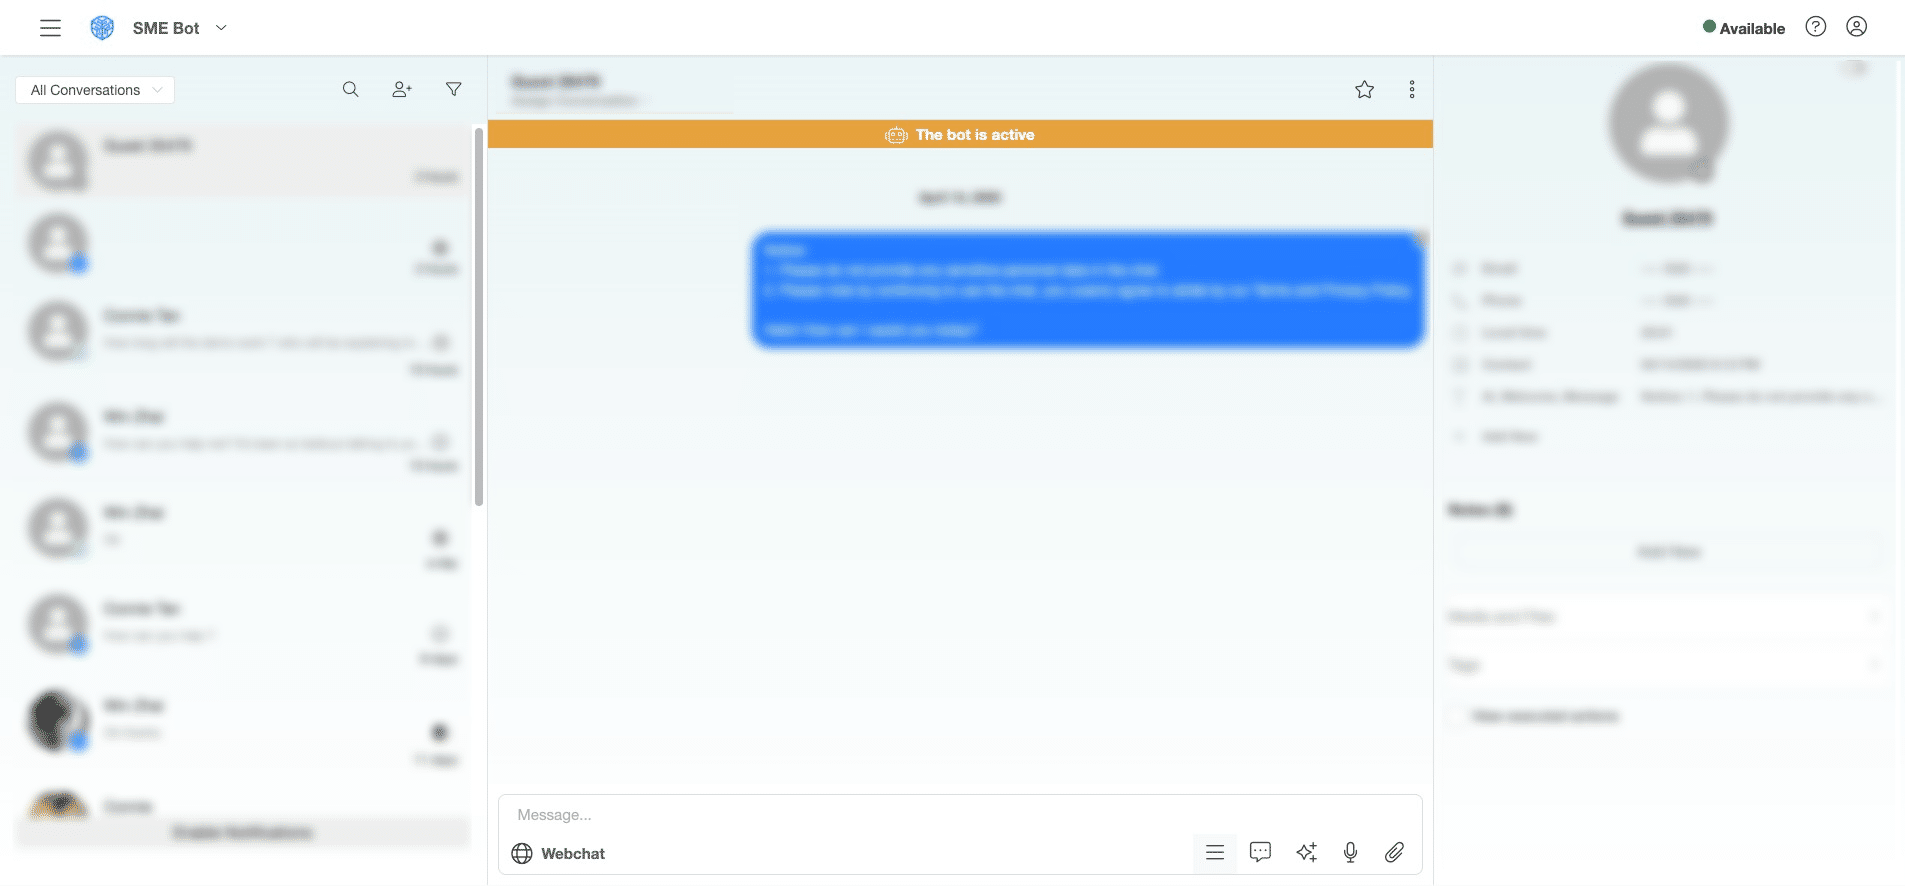
Click "Create Appointment"
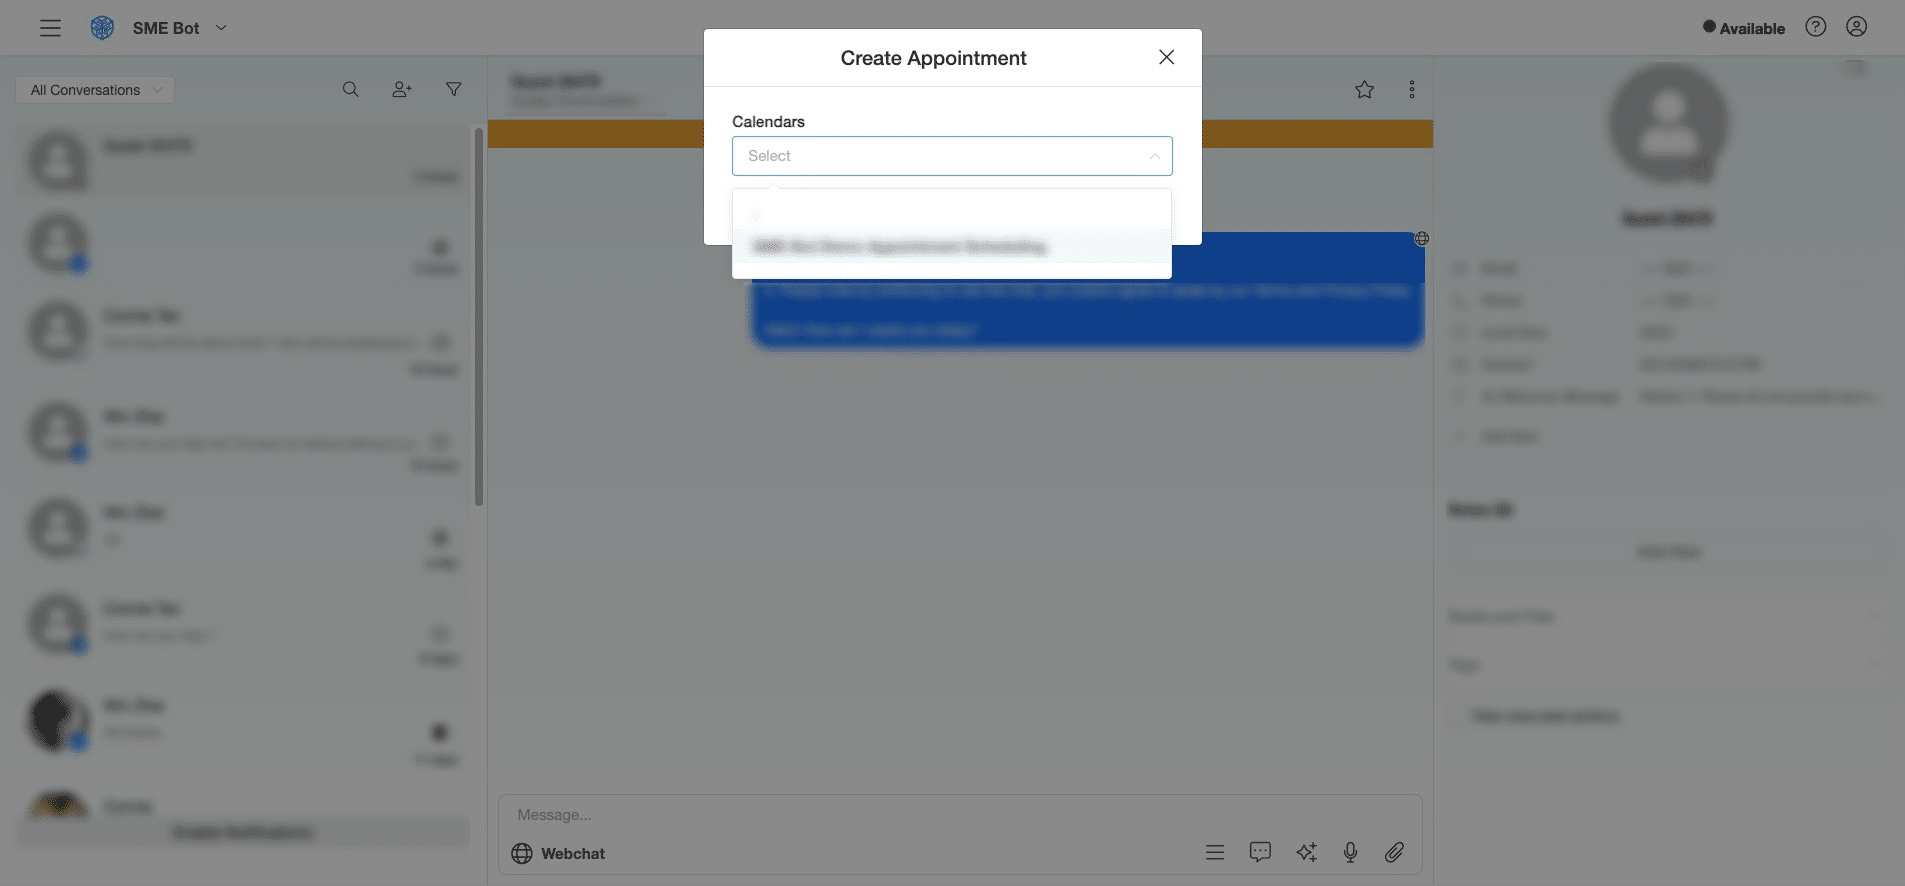
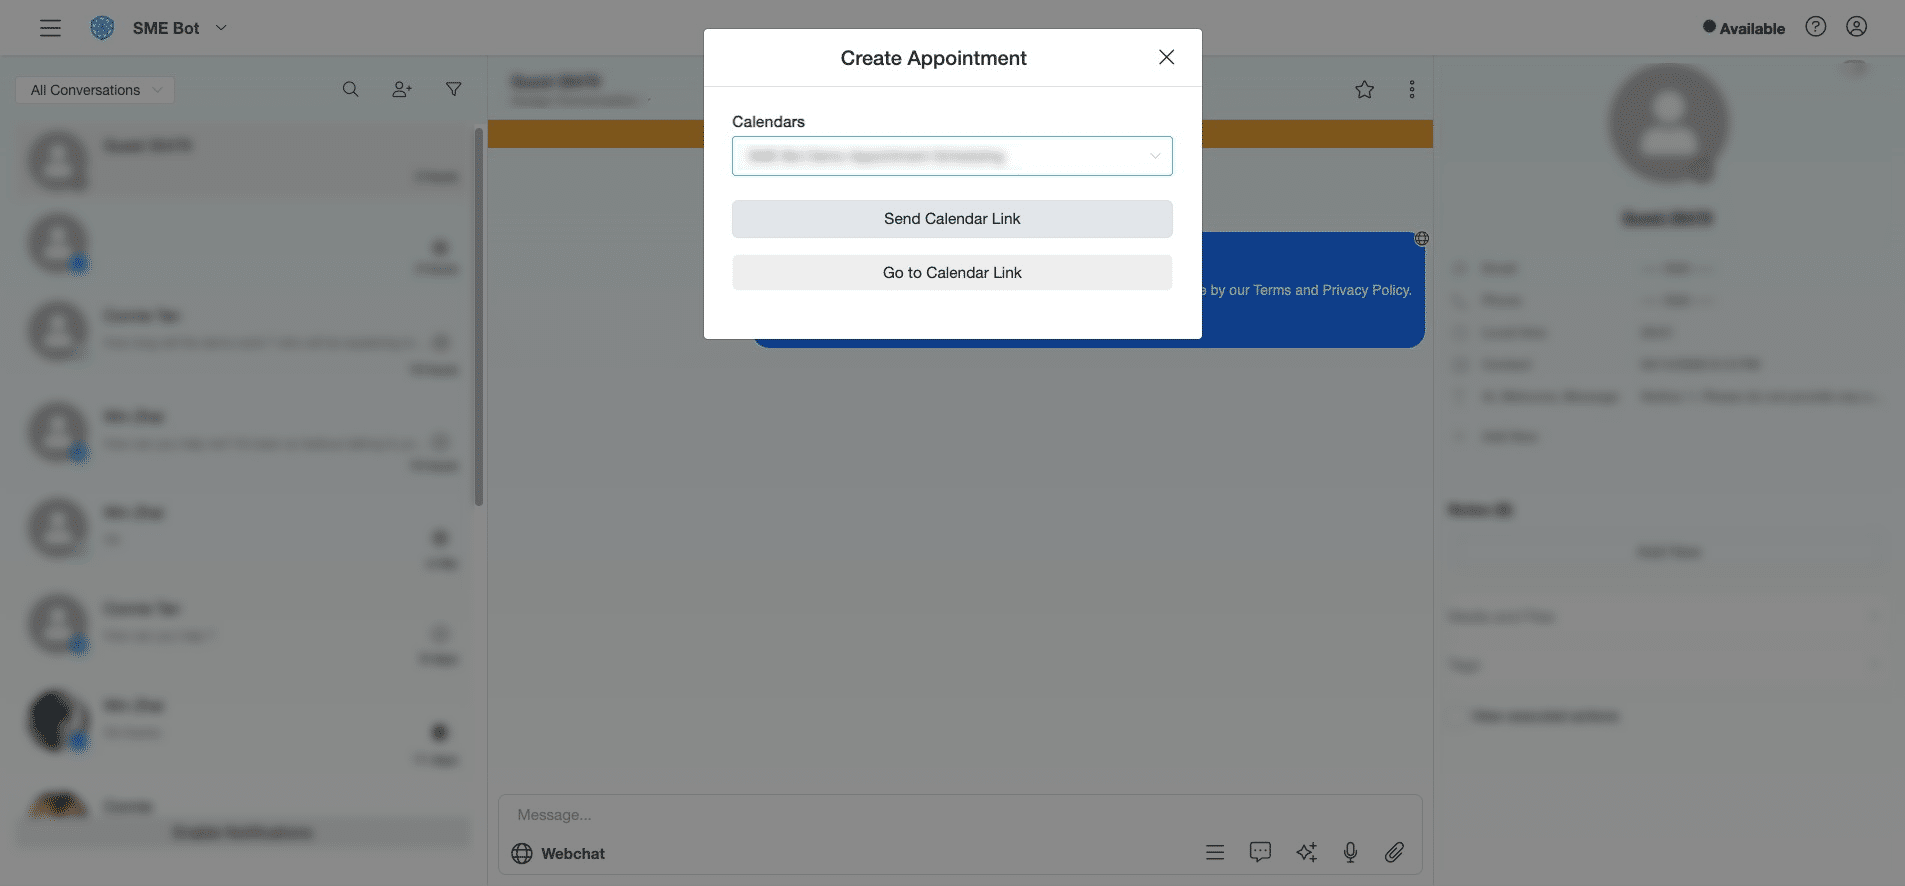
From the pop-up, click the desired Appointment Scheduling Calendar from the list to select.
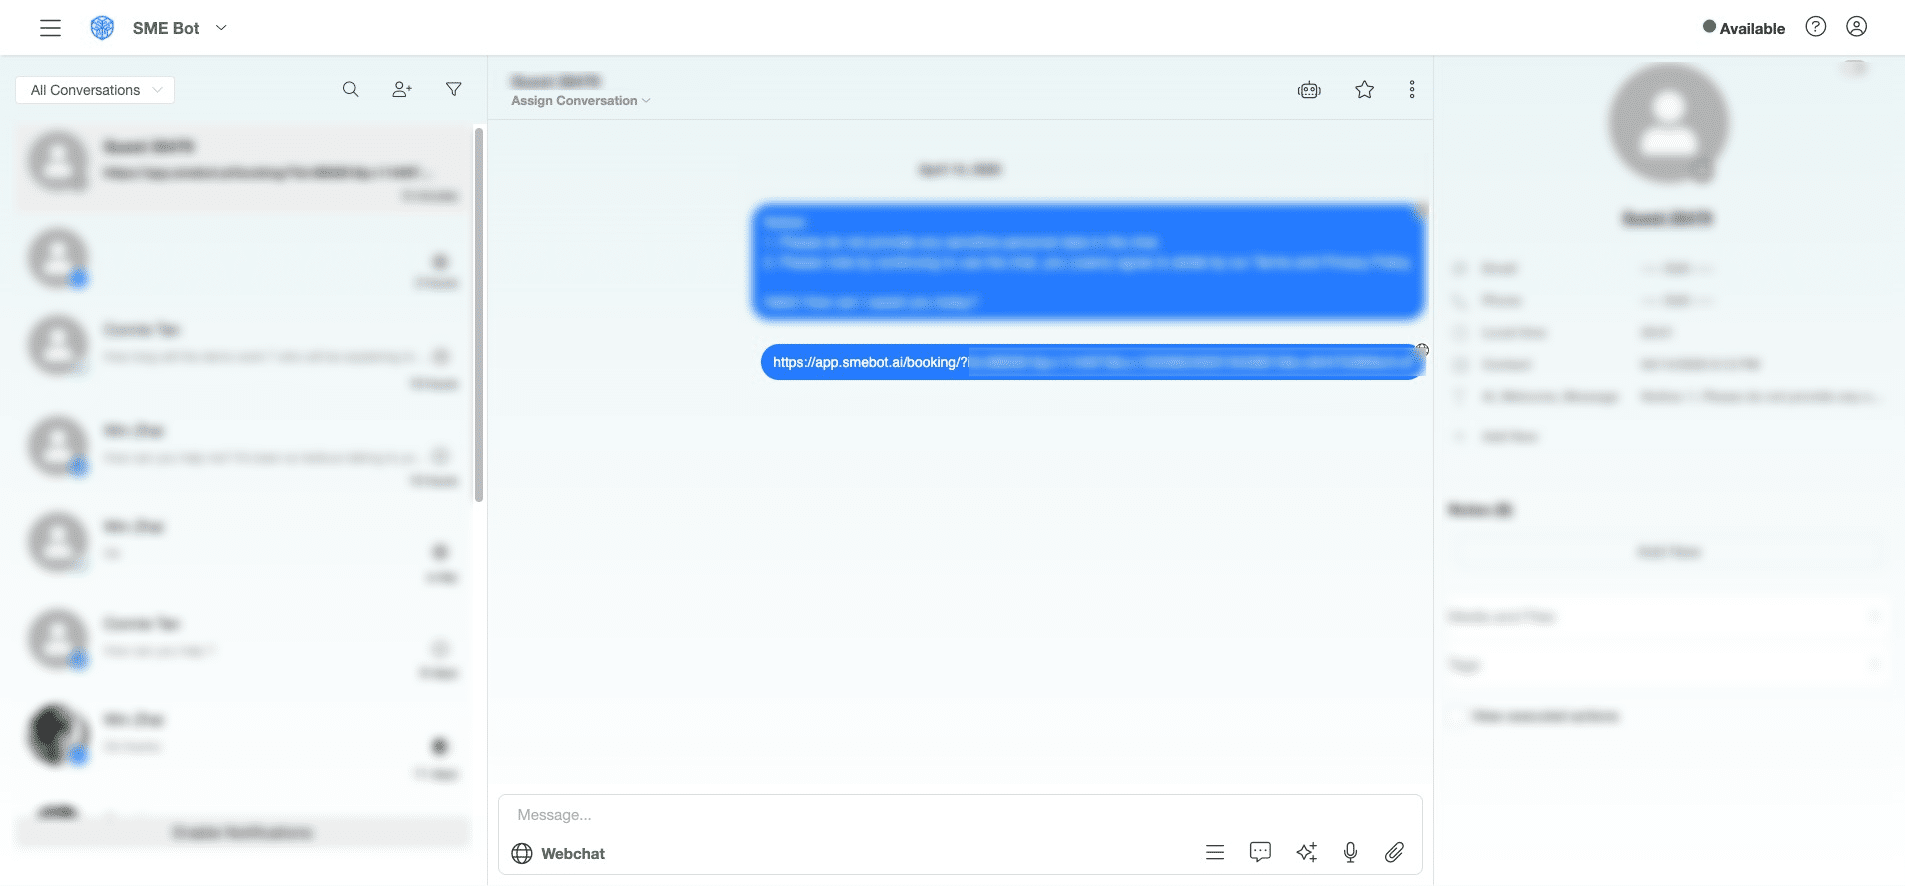
Click "Send Calendar Link" to share the Appointment Scheduling link with the contact.
The Appointment Scheduling Link has been sent.
✅ Done! You’ve successfully configured Appointment Scheduling in SME Bot. 🚀